Online SRT Generator
Notta’s online SRT generator extracts the audio from your video and converts it into subtitles in minutes. Generate, edit, and download an SRT file easily.
Easily capture every word with AI transcription
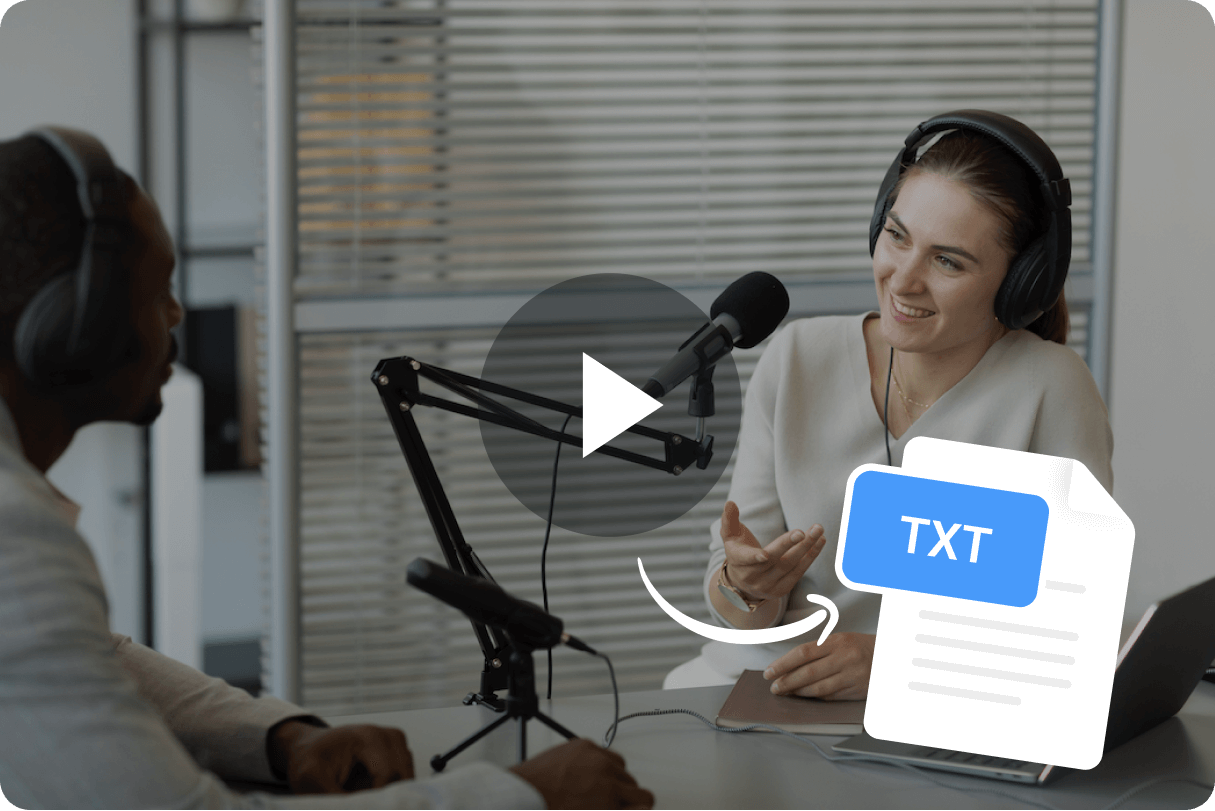
Notta AI-powered transcription tool is designed to convert your audio and video recordings into accurate, readable text transcripts with ease. Whether it's for important meetings, interviews, podcasts, or voice recordings, leveraging Notta can significantly streamline communication, enhance efficient collaboration, and take team productivity to the next level.
How to transcribe video to text
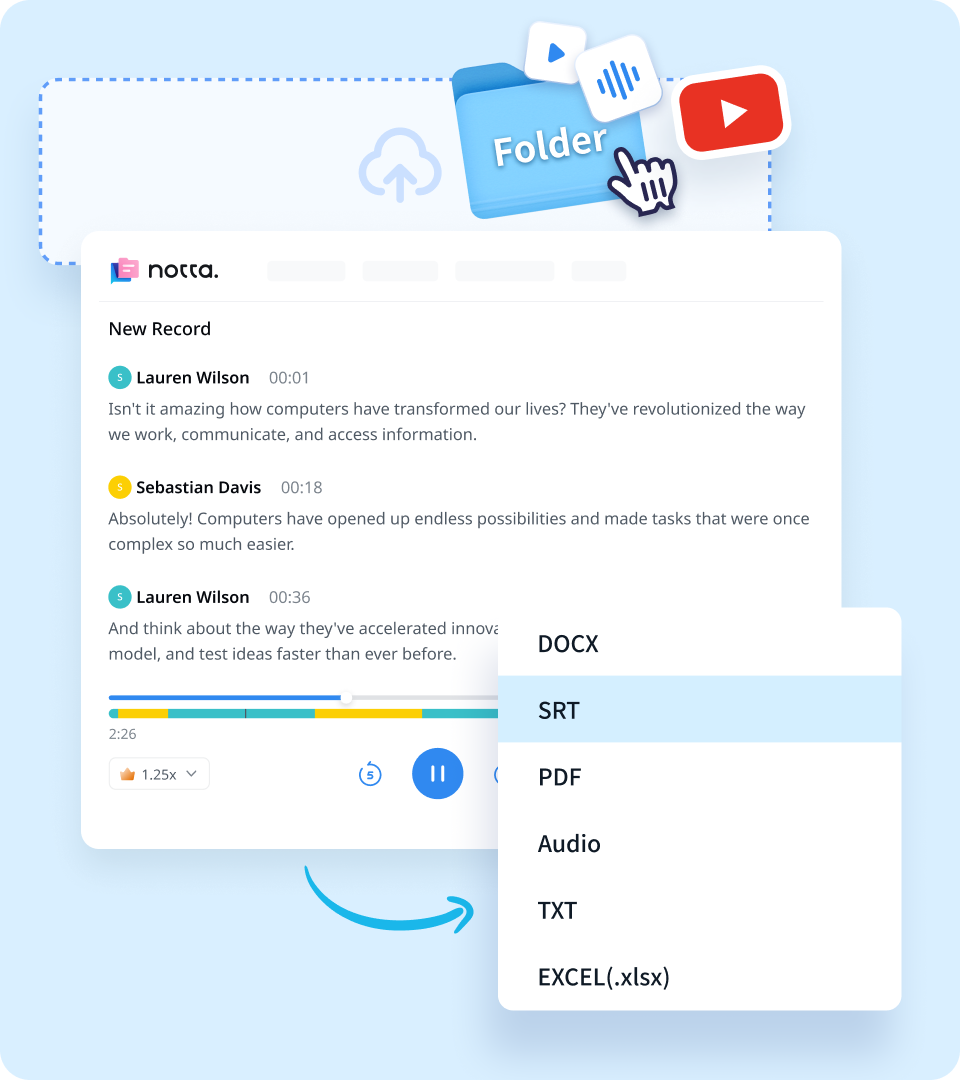
1. Upload video files
Using our uploader, you have the flexibility to import your file from various sources, including your laptop, Google Drive, Youtube, or Dropbox. Select your chosen file and click Upload. The platform supports a variety of file types such as WAV, MOV, and more.
2. Review and edit the transcript
After uploading your video, Notta swiftly generate a transcription, capturing every word and phrase spoken in your content. Once the transcription is ready, you can review and make any necessary adjustments to ensure its accuracy and alignment with your intended message.
3. Export the transcript
Once you have reviewed and finalized the transcriptions to your satisfaction, our platform allows you to effortlessly export the SRT file. The SRT format is widely recognized and supported by a multitude of video hosting platforms, video players, and editing software.
Enhance your transcription experience with Notta
Focus on your conversations instead of constantly taking notes
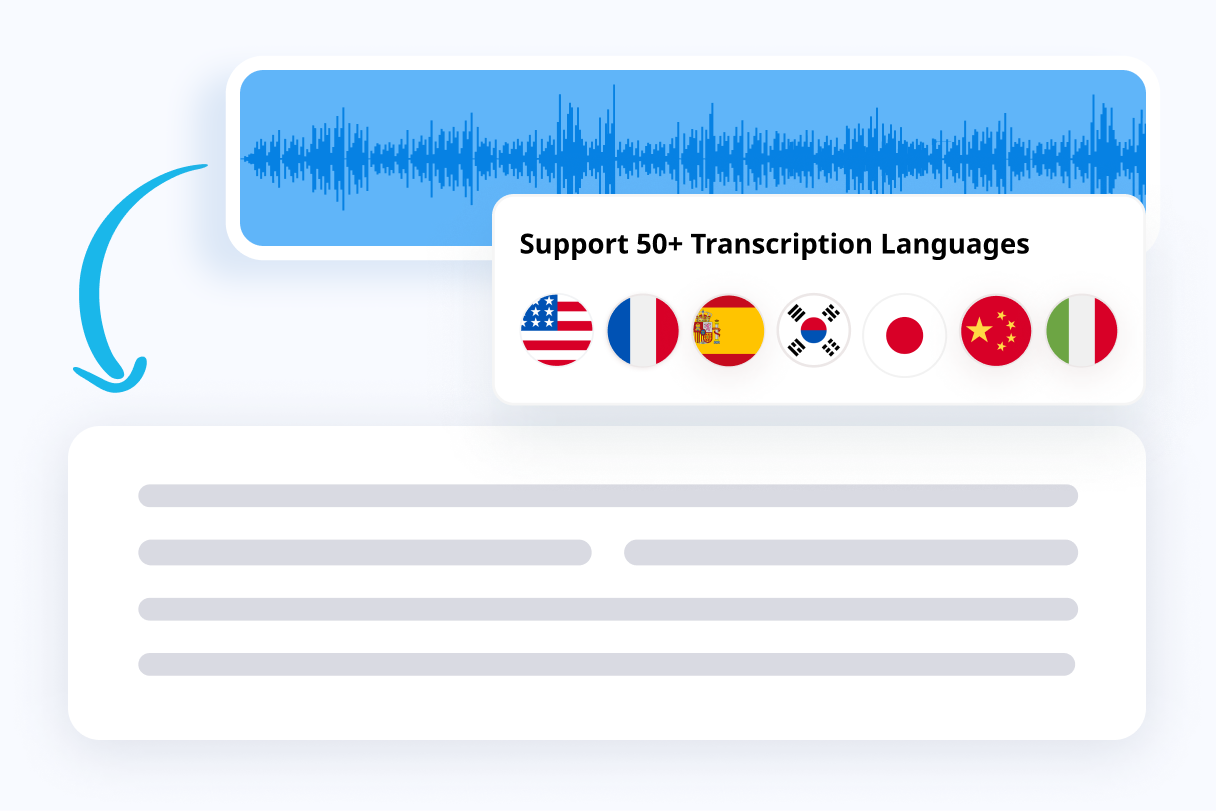
Tired of constantly juggling between participating in conversations and taking notes? Say goodbye to distractions and hello to seamless engagement with Notta - the best online transcription tool. Notta’s audio-to-text capabilities are available in 50+ languages.

Summarize meetings with AI templates to stay organized
Notta uses AI to automatically transcribe and summarize your meetings so you can make decisions faster. With Notta’s pre-defined templates, you can streamline post-meeting processes and ensure that key insights and action items are captured accurately and efficiently.
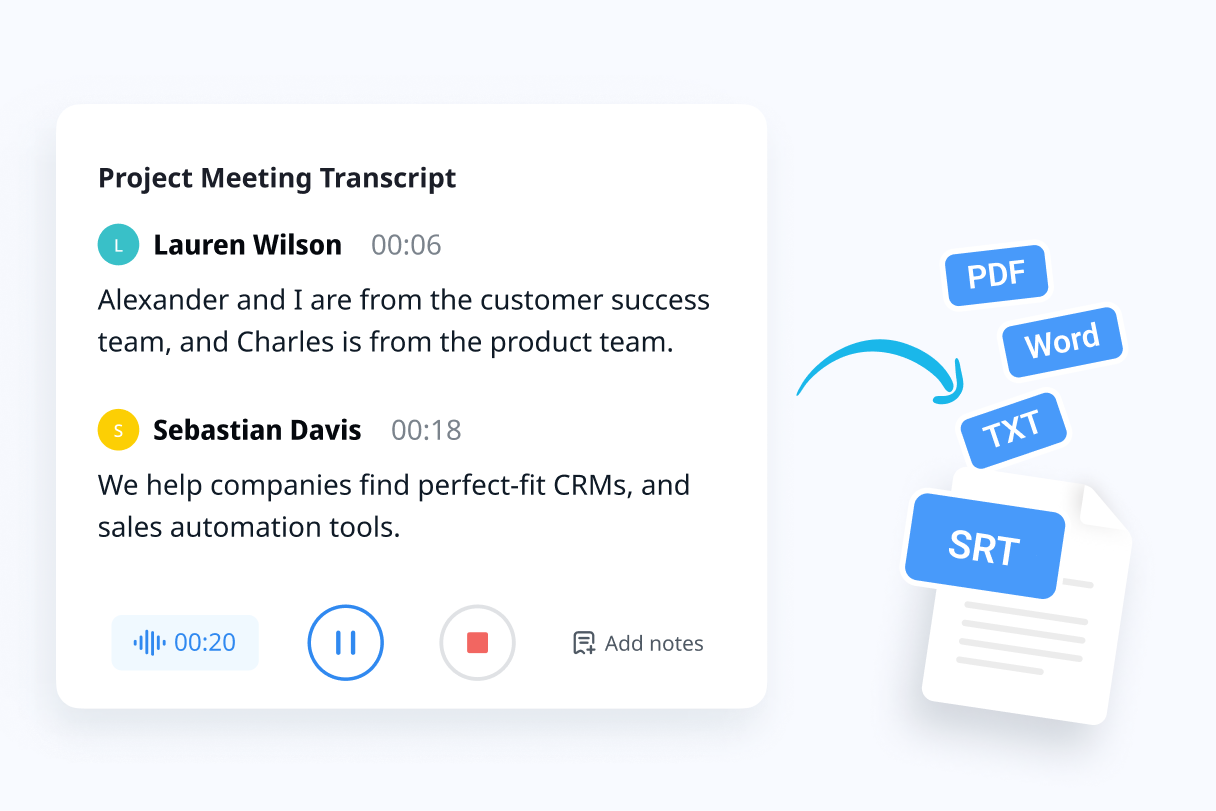
Easily export & share in multiple ways to boost productivity
Notta offers unparalleled flexibility with various export file formats and sharing methods. Effortlessly export transcripts in various formats such as TXT, PDF, DOCX, or SRT, and share them via email, link, or integrated apps like Notion, Salesforce, and Zapier.
Why choose Notta
Multi-language
Turn your sound to text wherever you are. Our voice to text converter is compatible with 58 languages, with translation also available for over 40 languages.
Security & privacy
We take securing your data seriously. Our service follows strict guidelines including SSL, GDPR, APPI, and CCPA, and we encrypt all data using AWS’ RDP and S3 services.
High accuracy
Our converter uses AI-powered technology to reliably transcribe your words with efficiency. Save time with fewer corrections and convert voice to text with an accuracy rate of up to 98.86%.
Flexible formatting
Upload and convert voice to text from audio formats including WAV, MP3, M4A, CAF, and AIFF, as well as MP4, AVI, RMVB, FLV, MOV, and WMV video formats. Our voice to text converter also integrates with YouTube, Google Drive, or Dropbox by simply pasting a link.
Sync across devices
Notta makes it easy to access your transcripts from anywhere, with seamless syncing between devices. You can access data through Mac, Windows, iPhone, iPad, Android tablets.
AI summary
Notta generate automatic summaries powered by AI. Use this trusted, handy AI tool to gain insight on your transcript, along with actionable steps to improve it.
What our users say
Frequently asked questions
What are SRT subtitles?
An SRT file, also referred to as a SubRip Subtitle file, is a plain-text document that holds essential data about subtitles. It includes vital details such as the timing information (start and end timecodes) to synchronize the subtitles with the corresponding audio or video, as well as the sequential numbering of the subtitles. The SRT file serves as a companion text file that complements the video or audio, providing the necessary subtitles for an enhanced viewing or listening experience.
How to generate SRT files?
Everything is easy when you use Notta! This transcription software also features an online SRT generator that can automatically extract SRT files from your uploaded videos.
Step 1: upload the video of your choice or the URL of the file you’re extracting from.
Step 2: Notta creates the subtitles from the audio.
Step 3: proofread the generated video transcription to check whether everything is accurate.
Step 4: export the transcription to an SRT file format.
How do I generate SRT subtitles for YouTube?
The first step is to use an online srt generator and transcription software like Notta. Upload or paste the URL of the video and convert its audio into text. After transcribing, export it as an SRT file. When uploading your YouTube videos, you can upload both the video and the SRT file in place.
Why use an online SRT generator?
An online SRT generator like Notta simplifies the process of generating accurate and synchronized subtitles. It saves time, ensures convenience, and provides flexibility in customizing the subtitles to meet your specific requirements. Moreover, because everything is automated, you can guarantee SRT files to be ready in just a few simple clicks with Notta. And finally, an online SRT generator helps with boosting your SEO.
Can I translate my subtitles before exporting them as SRT files?
Yes, definitely! You can easily choose the translation language before generating subtitle files. This gives you flexibility and a wider reach because you can make more people watch your videos from all over the world.

F. Jasper Lockwood
Educator
I recently started using this service, and it’s been great for study sessions! Organizing my speaking notes is twice as easy now. Plus, the fact that it can translate those notes into different languages is a fantastic feature that I absolutely love.