How to Record a Computer Screen with Audio [Windows 10/Mac]
98% accurate, real-time transcription in just a few clicks. 58 languages and multiple platforms supported.
In today's digital age, screen recording has become an essential tool for many individuals and businesses alike, especially with the rise of remote working.
Whether you are creating training videos to onboard new employees, capturing an online webinar for future reference, or simply recording a presentation, including audio can make your videos more captivating and engaging.
This guide will tell you everything regarding recording a computer screen and audio on Windows and Mac computers. Let’s dive right in!
Does screen recording record audio?
The simple answer is ‘Yes.’
You’ll, however, need the appropriate software. Some computers and operating software come equipped
with built-in tools that enable you to record the screen and audio. If your computer does not have this
feature, you can use third-party software to screen record with sound.
Screen recording can record audio in two ways — it can capture the system audio or the microphone audio.
System audio refers to all sounds that originate from your computer programs, including notification alerts or music. Due to the system limitations imposed by Apple, recording system audio is impossible on Macs.
Microphone audio, on the other hand, is any sound that’s captured by your computer’s built-in or external microphone.
With this knowledge, you can look for a screen recorder to handle the system and microphone audio.
The benefits of recording computer screen with sound
Including audio in your screen recording can boost your viewers’ experience. The following are the main reasons why screen-recording videos with sound is beneficial:
It helps enhance understanding: Screen recording with sound is particularly helpful if you are creating tutorial videos. Using voice-over narration to guide the audience through your videos step-by-step, both audibly and visually, will help them better understand what’s happening on the screen.
It helps capture details that may be overlooked without sound: Including the original audio from webinars or virtual meetings in your screen recording can help capture details often missed without sound. This adds more context and insights into the conversations that were held.
It makes your communication more effective: Combining the original system audio and voice-over narration will make your screen recordings more interesting and informative, thus helping you communicate your message more effectively.
Record computer screen and audio using Notta

Notta is essentially an AI productivity platform that focuses on transcribing any audio to text and maximizing the value of the text.
But then it takes one step further by offering a screen recording functionality, allowing users to capture a computer screen and audio at the same time in high quality, thus using video messages to replace unnecessary meetings and increasing productivity.
With that in mind, follow the simple steps below to record the screen with audio using Notta, whether you are using a Windows 10 or Mac:
Step 1: Sign up for Notta for free. Then launch the Notta app and click ‘Record a Video’ on the right side.
Step 2: Next, Select your preferred screen recording method. You can select
Screen & Camera to record both the screen and camera
Screen Only to record just the screen

Step 3: Choose the video and audio output device and click on ‘Start Recording’.
Step 4: A window will appear prompting you to select the screen you’d like to record, then click ‘Share’ and the recording will start.
After the recording ends, you can find your recording in the Notta dashboard. Now you can play the recording and share a clip or the whole recording with others easily.
Advantages of using Notta for screen recording
It comes with HD video recording capabilities alongside the audio: This enables you to capture and create high-quality videos that are more captivating to your viewers.
Easy to use: Recording your screen using Notta is simple and fast, even for first-time users. You don’t need to have prior experience to use this app. Just follow a few steps, and you’ll be done quickly.
Recording the screen and camera simultaneously, which is especially useful when you are making presentations or react videos.

Notta can convert your spoken interviews and conversations into text with 98.86% accuracy in minutes. Focus on conversations, not manual note-taking.
How to screen record with audio on Windows 10?
There are several ways of recording the screen with audio on Windows 10. You can, for example, use
Windows 10 built-in screen recorder called the Xbox Game Bar. While this was developed to capture
gameplay, it can also record other screen activities. You can also adjust the maximum recording length, video quality, or frame rate.
Here is how to screen record with audio on Windows 10 using the Game Bar app:
Step 1: Activate the Game Bar
To use Game Bar, you’ll need to activate it first. Press Windows + I keys to access the Settings menu. From there, select Gaming > Xbox Game Bar and turn on the switch.

Step 2: Start recording
While you open the screen you want to record, press Windows + G combination keys to open the recording panel and click ‘Yes, this is a Game’ when prompted. Then click Start Recording to record your screen.

To stop recording, click Stop in the recording bar or simply press Windows + Alt + R. You’ll
find your screen recording through File Explorer. Go to ‘’This PC’’ > ‘’Videos’’ > ‘’Captures’’.
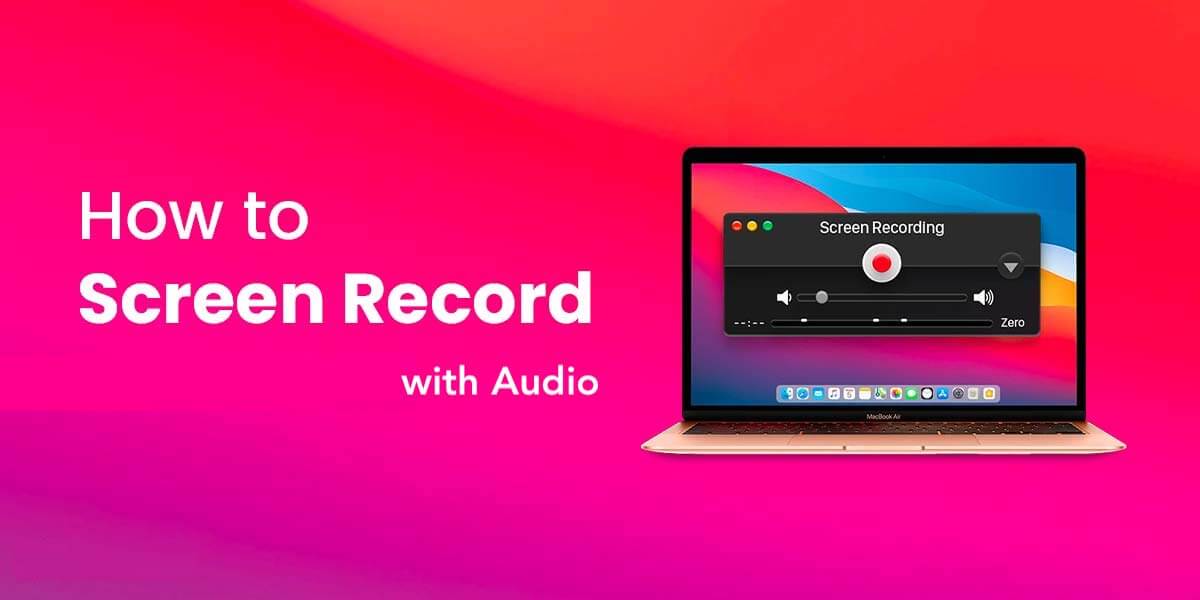
How to record screen on Mac with audio?
For Mac devices, QuickTime Player is one of the most common screen recording software available and it is built-in. To record your screen and audio on Mac:
Go to Finder > Applications and open the QuickTime Player tool.
From the menu bar, Select File > New Screen Recording.

Choose whether you want to record the entire screen or the selected portion
Then click on Options and choose the audio source; it is the built-in microphone by default.
Click Record to begin recording.
To stop recording, click the Stop Recording button in the top menu bar of your screen and you can view the recording immediately.
FAQs
Can I screen-record with audio?
Yes, you can easily record screen and audio with the right software. You can use your computer’s built-in tool or a third-party app like Notta to record your screen with audio.
How do I record my iPhone screen with audio?
You can easily record your iPhone screen with audio by following the steps below:
On your iPhone, go to Settings > Control Center, and click the Add button.
Open the Control Center
Click the gray Record button and wait for the 3-second countdown.
Exit the Control Center to start recording your screen.
3. Why is my screen recorder not recording audio?
If your recorder is not recording audio, it could be because the app you are using does not have
permission to access the microphone and, therefore, cannot record any sound. To enable it, just switch on the toggle next to the app.
In sum
Recording your computer screen with audio is easy and can be done in several ways. You can use your computer’s built-in tools or a third-party app like Notta. Our guide has provided all the information you need to screen record with sound easily. Try it out and make your videos more engaging.

