How to Add Voice Over to Video [Easy Guide]
Localize your video to reach a global audience!
Video is fast becoming a powerful medium for communication, storytelling, and marketing. According to a recent study, nearly 3.5 billion internet users consumed video content in 2023 and this number is expected to rise in 2024.
To create an engaging video, voice over is an important element that should never be neglected. Adding a voice over can capture the audience's attention and convey your message effectively.
In this guide, we will explore the step-by-step process of adding a professional voice-over to your videos. From preparing the right equipment to recording techniques and editing tips, you can surely master the art of creating a voice over. Let’s get started!
Why is voice over important for a video?
Voice over, often abbreviated as VO, is the addition of narration or explanation to a video without showing the speaker. It is commonly used in documentaries, explainer videos, and product commercials.
Voice overs complement or enhance the visual content and give viewers an enjoyable viewing experience, among other benefits.
Reach a wider audience: One of the most significant advantages of voice over is that you can have them in different languages in the same video. This allows you to localize your content for a wider audience.
Increased engagement: Users relate better with a video when they understand the content. With a quality voiceover, you can explain the content of your video with clarity and style. This helps create a strong connection with your audience, increasing content engagement.
Gives content direction: In educational and documentary content, you need to provide direction to your content to make it easy for the audience to follow. This can only be done with a voiceover if you don’t want to distort your audience’s viewing experience using captions.
Improve accessibility and inclusivity: Adding voiceover to your content helps you reach audiences with visually impaired individuals or those who prefer audio content, as they rely more on verbal conversations.
How to record and add voice over to video
Adding voice over to a video is anything but simple, and you need the know-how to get it right. In this section, we will explain the detailed steps you can follow to create and add quality voice over to a video.
Step 1: Prepare a script
Having a well-prepared script is probably the most important thing you can do to ensure your voice over sounds professional.
Before recording, write down the script that outlines everything you intend to say in the video, which lets you weed out filler words and contents unrelated to your video. Once it’s written, read the script loud several times to prevent pauses and stuttering during the recording.
Step 2: Set up space and equipment
After preparing your script, you need to get quality recording tools ready. This is important If you don't want to keep deleting and re-recording your voice over due to poor quality or instrument failure.
Preparing tools include a quality microphone and audio recording software. In addition to recording instruments, you need to prepare a quiet space suitable for recording.
This space should be devoid of background noises and not a location where you will likely be interrupted. While it might be challenging to get a perfect spot like that of a professional voice actor, you can explore out-of-the-box options like your car or even your living room when everyone is asleep.
Step 3: Record a voice over
This may sound straightforward, but it, in fact, involves loads of preparation work. To ensure you record a ready-to-use voice over, do the following.
Speak clearly: To give your audience the best experience, you need to speak clearly. Ensure you pronounce every word correctly and use a tone that resonates with your audience. You also need to avoid mumbling or shouting into your microphone.
Keep up the pace: Maintain a certain pace throughout your voice over to keep your narration consistent. This will help prevent unnecessary accent changes and create a good sync between the voiceover and your video.
Do demo recordings: Before recording the main thing, try to do test recordings. This will allow you to perfect your pace, test your recording tools' efficiency, and help you get used to your voice.
Step 4: Edit your audio
When you are done recording, edit the voice over using any editing software. Even if you feel you didn’t make any mistake, you still need to listen to the audio over and over again to make sure it is precisely what you want.
A good way to start is to listen to the audio from the beginning till the end and note the areas of improvement. Here, you need to look out for parts that sound rushed or too slow, weird silence, unclear words, mumbling, and other strange sounds.
After curating the lists of the things to improve, you can now play the audio from the beginning again and start editing.
Step 5: Sync voiceover with your video
After perfecting your voice over, it’s time to import the voice-over file into your video editing software and synchronize it with the visuals by aligning the audio with the corresponding scenes.
Lastly, don’t forget to make any necessary adjustments to ensure that the voice-over complements the video seamlessly, adjusting timing or volume as needed.
How to dub voice over videos automatically
You must have successfully recorded a voice over now, congratulations!
But what if English is not enough, and you want to reach more audiences by recording a voice over in other languages? Doing the whole process again and again is time consuming, not to mention the cost as you’ll need to hire professional native voice actors.
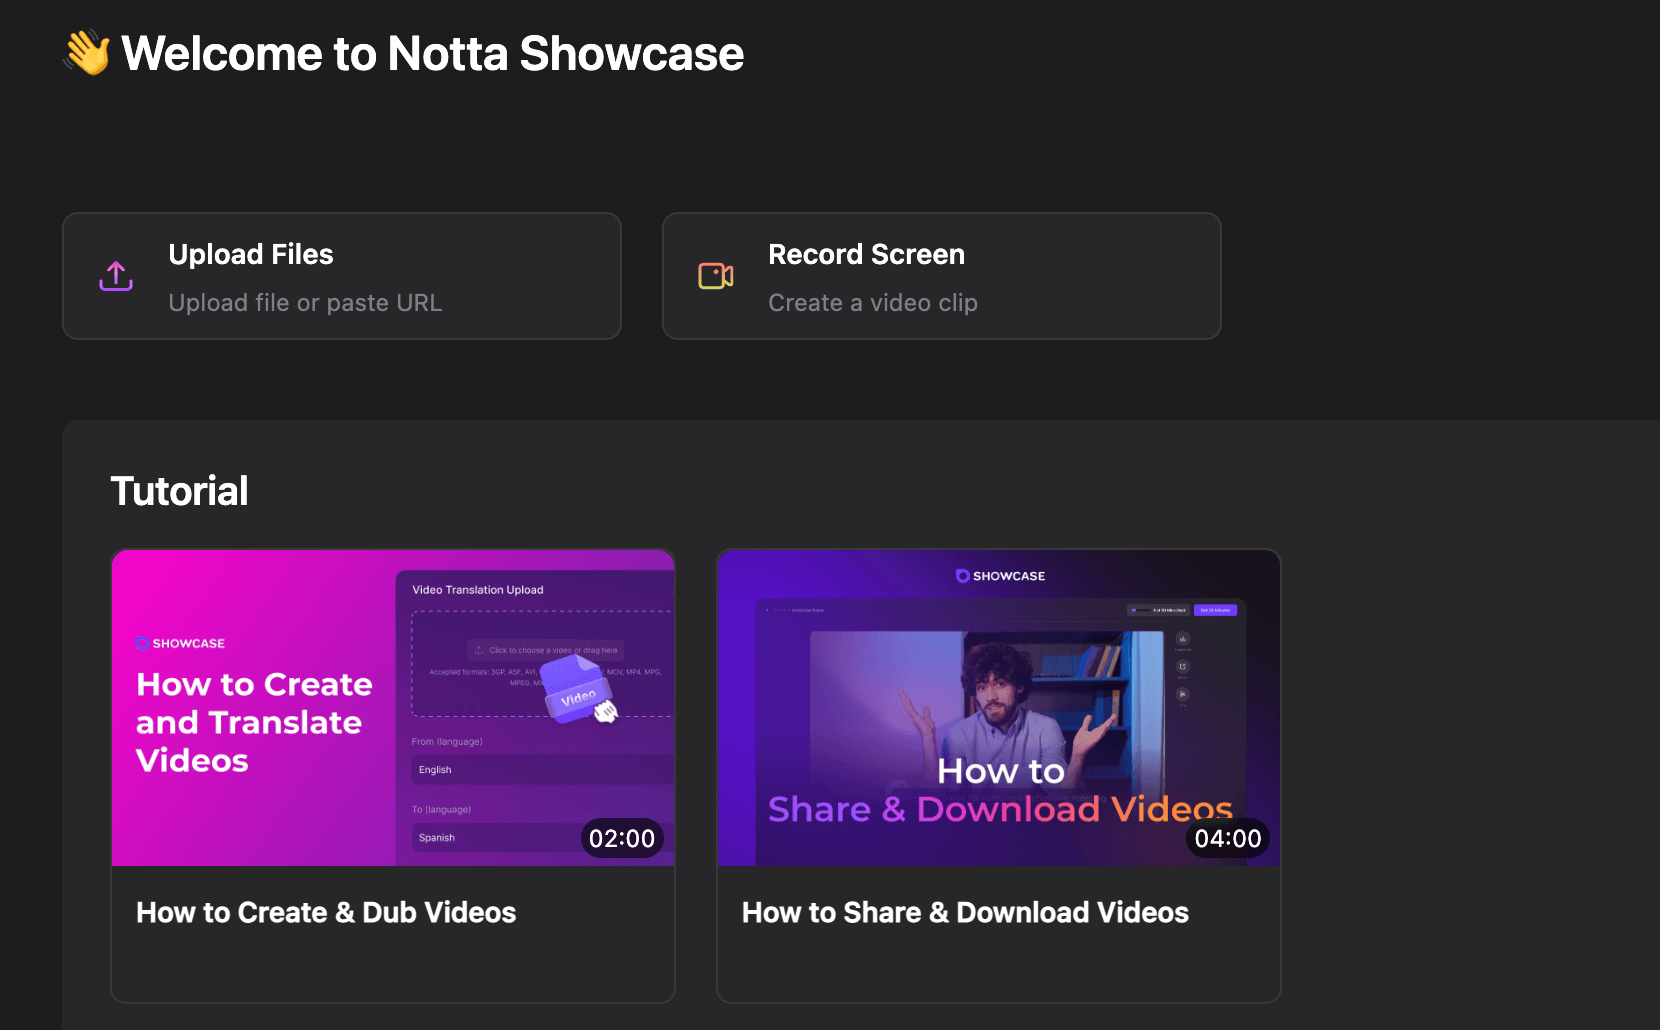
Well, no worries. You can use an automatic dubbing software like Notta Showcase to instantly translate existing video into multiple languages with a simple click. This tool is particularly adept at catering to the needs of content creators and businesses who aim to reach a wider audience using video content.
Key features
Wide language selection: Notta Showcase video translator can handle translations into 15 languages, including English, Spanish, French, Japanese, and more.
Voice cloning: This software clones the original speaker’s voice style and tone, making sure the dubbed voice over resonates with the new audience effectively.
Quality transcription and translation: Notta Showcase provides high-quality translation with its advanced algorithms; content localization is much simpler.
Below are steps to follow to dub voice over videos automatically with Notta Showcase:
Step 1: Upload your video
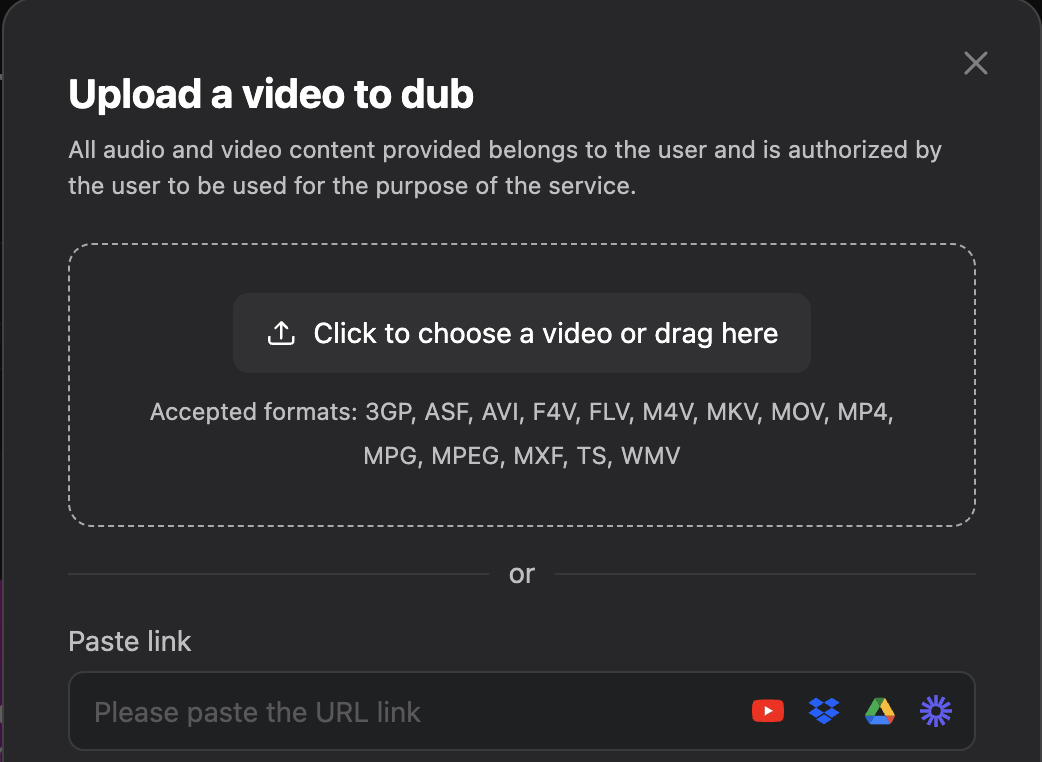
On the dashboard, click 'Upload Files' in the upper left, then upload any video you want to translate. Notta Showcase supports various formats like MP4, MOV, and WMV.
You can directly upload the video from your device or paste a link from Loom, Google Drive, YouTube, or Dropbox.
Step 2: Start the dubbing process
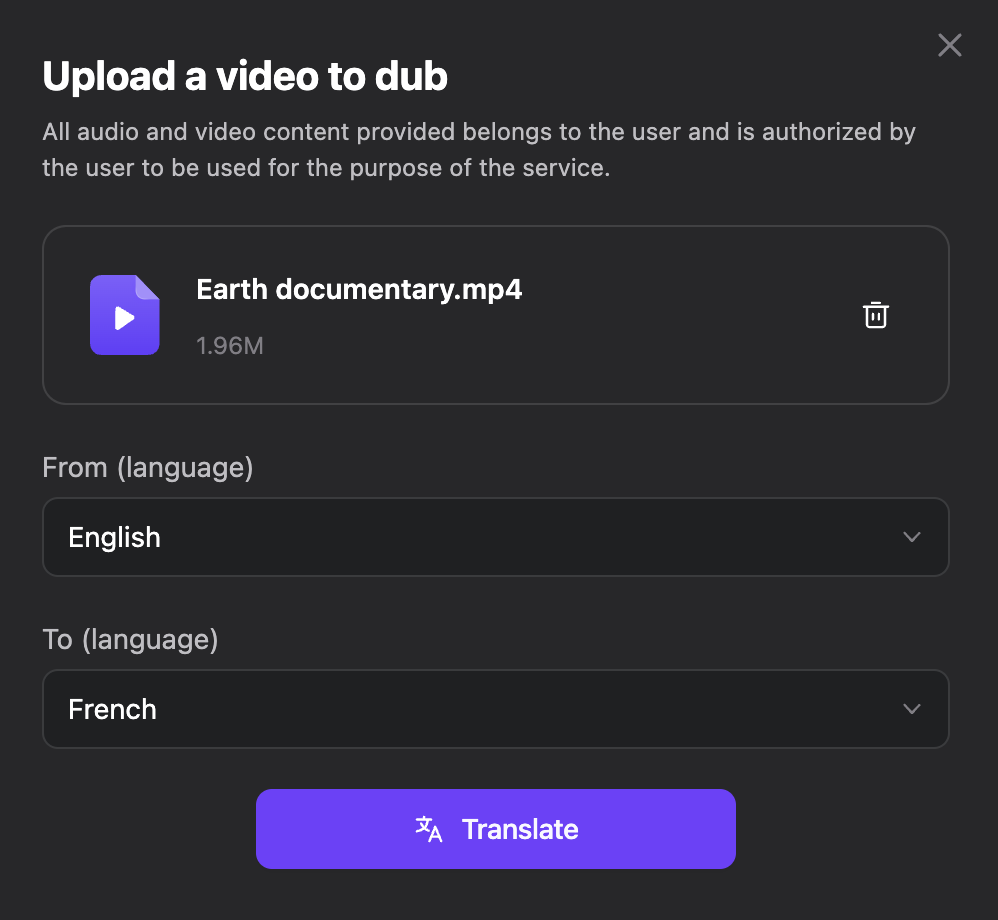
Specify the source and target language from our supported ones, then click the Translate button to start the process. The time depends on your video content length, meanwhile you can focus on other important tasks.
Step 3: Review your video with dubbed voice over
Once the dubbed video is ready, you can review it and then download or share it as needed. This tool also offers an option to add automated captions.
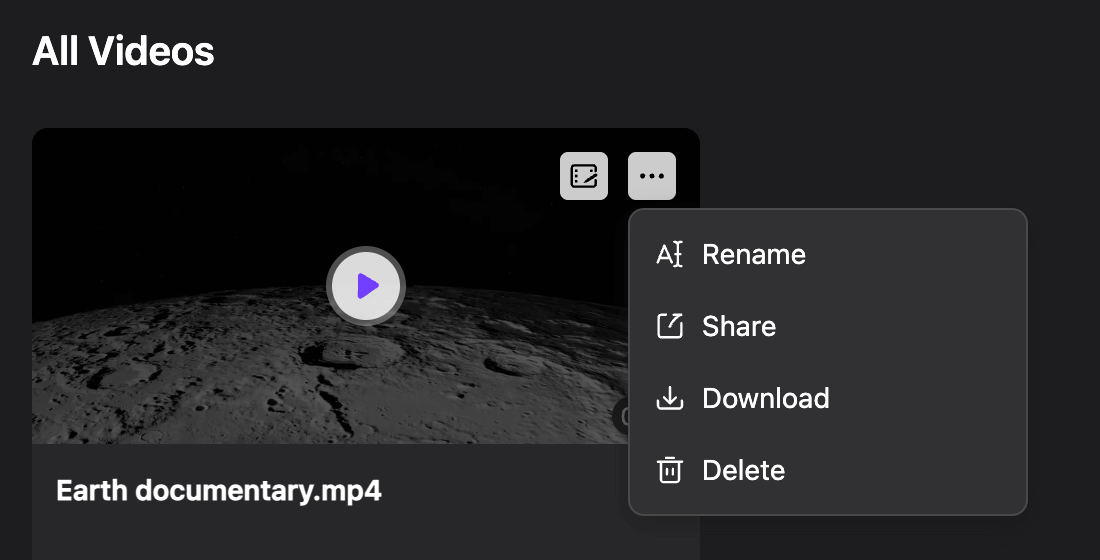
So, with these quick and easy steps, you will have your dubbed video in a few minutes. All with little to no effort from you and with the help of Notta Showcase.
Pro tips for creating voice over for your videos
Some things can take your voice over to another level. These pro tips can differentiate between a good voice over and a bad one.
Tip 1: Consider your microphone placement
While it is crucial to speak audibly and clearly, your microphone must not be too close to you. This is because it is likely to pick up breathing, weird mouth noises, and air puffs.
Also, you don't want to keep the microphone too far away, as this might cause sound loss and clarity issues. So, test your microphone to determine the ideal placement distance.
Tip 2: Don’t stop when you make mistakes
You might be tempted to stop your voiceover when you make mistakes. Don’t, as you might be discouraged after a series of mistakes.
Instead, go back a line or two in your script and continue from there. You can always cut out the part where you made the mistake during editing.
Tip 3: Learn to take breaks
There are times when you might feel like you have hit a roadblock. At this point, you can start struggling with your script, leading to too many mistakes and prolonged silence.
What you need to do here is to pause your recording and take a break. After some time, recheck your script and rewrite any ambiguous parts. You can now resume the recording when you feel refreshed and settled.
Wrapping Up
Voice-overs are becoming increasingly important as people from all over the world continue to consume video content. So, the earlier you know how to add voice-overs to your videos, the better.
In this guide, we have explained the detailed steps for adding a voiceover. In case you need to translate your videos into multiple languages to reach a global audience, I recommend using the Notta Showcase AI dubbing tool. This software can instantly dub voice over video across 15 languages while preserving authentic speaking style, so you can expand content reach without the hassle of traditional dubbing processes.