Free YouTube Transcript Generator
Easily convert YouTube videos to text transcripts for free online with Notta.


Trusted by 10M+ users & 6,000+ enterprises worldwide


How to transcribe audio to text with AI
1. Enter the video link
Find a video on YouTube that you would like to get transcript and paste the URL into the field above.
2. Convert video to text
Select the video language you want to transcribe. Click 'Confirm' to continue.
3. Get transcript
Download YouTube transcript with timestamps or copy it for use.
Seamless YouTube video transcription with Notta
Various file formats
Notta supports a wide range of audio formats such as WAV, MP3, M4A, CAF, AIFF and more.
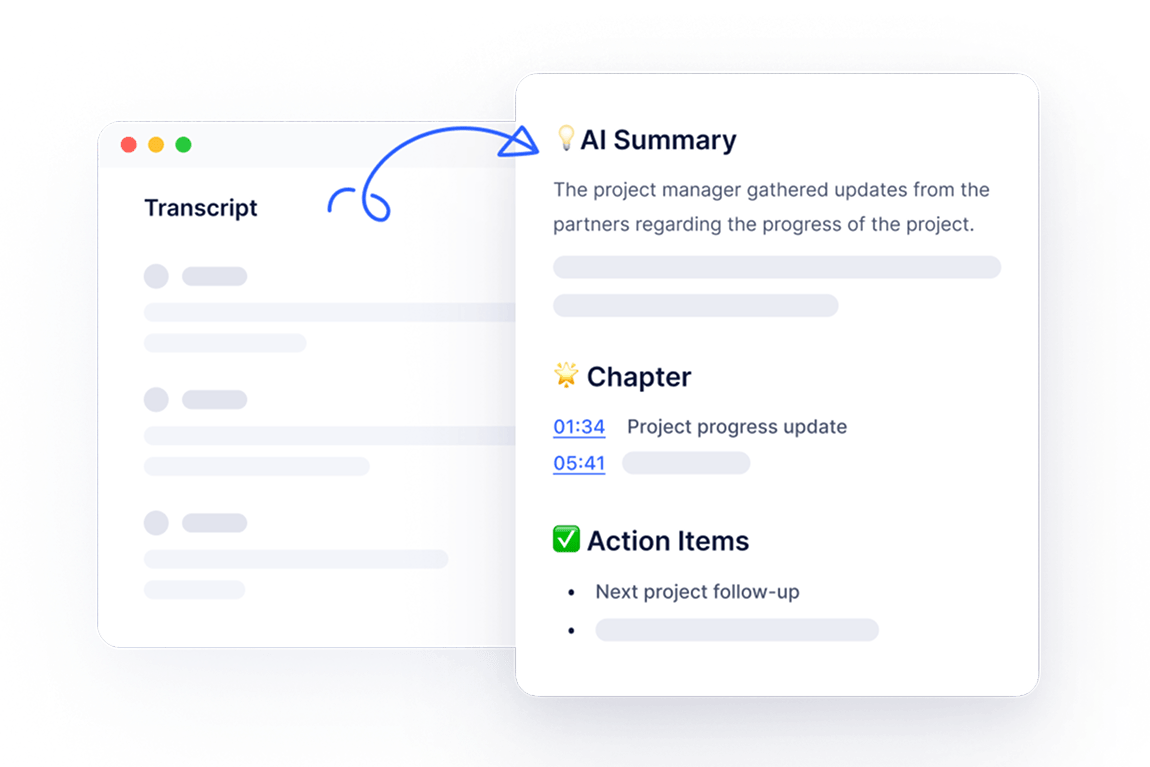
Smart AI Notes
Use Smart Al Notes to automatically summarize your recordings. It captures key decisions, action items, and important takeaways, turning long audio into clear, concise information.

Supported languages
Transcribe in 58 languages, including English, German, Spanish, French and more. Notta also supports transcribing and translating in two languages at the same time, which is ideal for multilingual conversations.
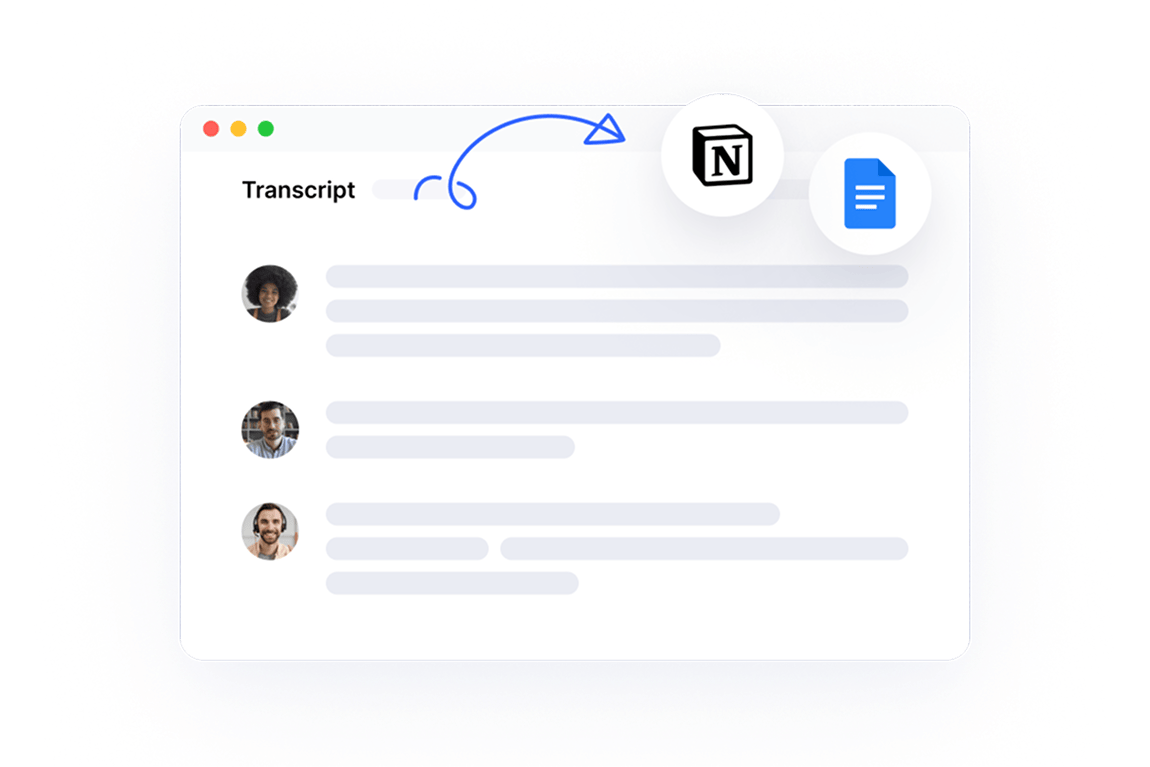
Integration with Notion and Google docs
Notta integrates seamlessly with your favorite tools to streamline your workflow. Export meeting transcripts and insights to Notion, Google docs and other platforms for viewing and collaboration.
Your data is protected with us
Your privacy is our top priority. At Notta, all your recordings and transcripts are securely encrypted, so you can count on your information staying private and protected every step of the way.


Customer Reviews
I use Notta almost every single day. In these sales calls, it's very helpful for Notta to record everything that the prospective customer says as well as myself, so I can return to it in the future if needed. It saves me at least 30 minutes per customer.

Paris Mielke
Co-founder and CEO
We run 20+ customer interviews monthly. Before Notta, insights got lost in scattered notes and people's memories. Now every interview is searchable. When we're writing campaigns, we search for phrases like 'biggest challenge' or 'frustrated by' and boom, authentic customer language right there. Our last three launches have been our best performers ever.
David Zhang
VP and Partner
The implementation of Notta was easy, we just log in with the web browser and hit the ground running. Ever since implementing Notta, I've reduced my patient door-to-door time by nearly 50% and also saved our practice money by requiring less staffing.
Dr. Tavish Nanda
Vitreoretinal surgeon
Choose the plan that fits your needs
Free
$0
USDPro
$8.17
USD/monthBusiness
$16.67
USD/monthFAQ
What is Notta online transcription tool?
Notta online transcription tool converts audio or video files into text with speed and accuracy. Simply upload your files and get instant transcriptions, saving time and making content more accessible. Use it to transcribe your meetings, lectures, webinars, interviews, podcasts, videos, or recorded speeches.
How do I edit the transcript?
Once your transcription is complete, you’ll receive an email containing a link to the result. With Notta’s user-friendly online editor, you can quickly edit and refine the transcript in minutes. Sign up for a free Notta account and start perfecting your transcribed text.
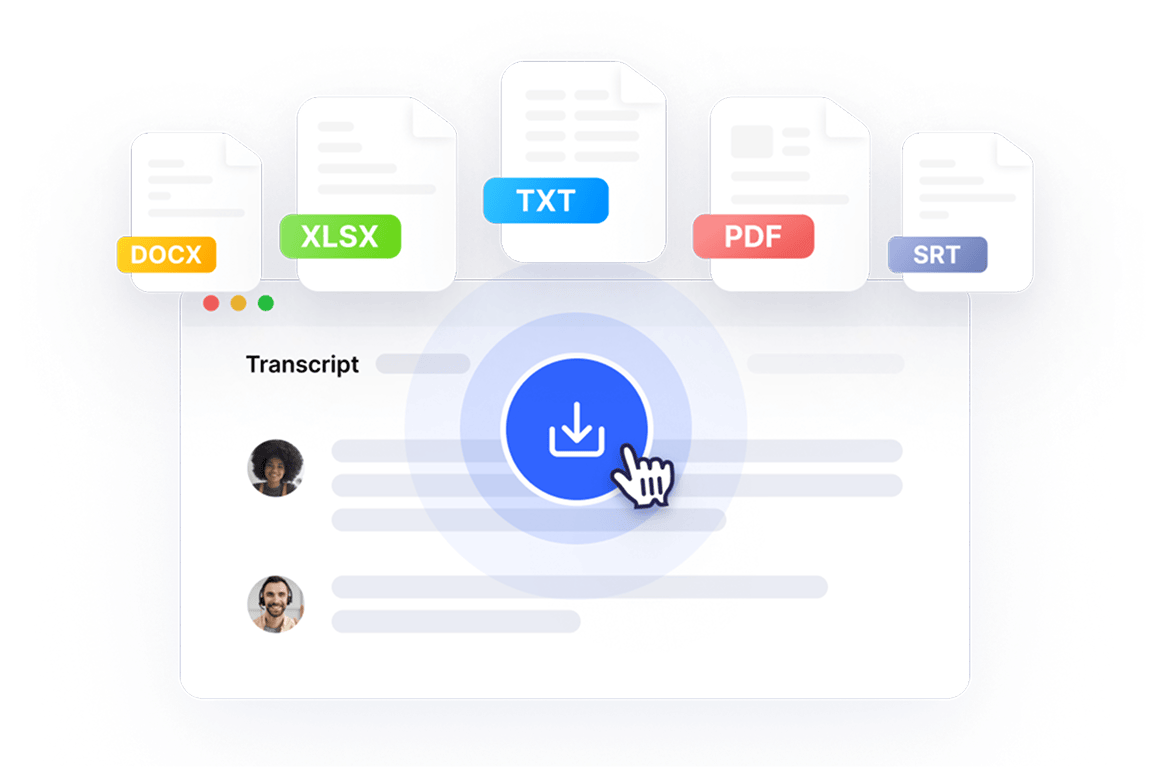
Can I save and export the transcript of the audio or video file?
Yes. Once you have ensured everything is fine, you can upgrade to Notta Pro and proceed to download the transcript from Notta. You can export the file in multiple formats, including TXT, DOCX, EXCEL, PDF, or SRT.
Is my personal data secure with Notta online transcription tool?
Yes. Privacy and safety are of utmost importance to Notta, and strict security measures are implemented across all Notta tools to safeguard your data.
Is Notta online transcription tool a free service?
Yes, Notta offers free transcription services with a limitation: each user can transcribe one audio or video file for free, with a maximum duration of 3 minutes per file. This free service allows you to experience the quality of Notta's transcription. If you want to use all the advanced features and have more transcription quota, sign up for a Notta account and get a 3-day Free trial!
Is there a free app that will transcribe audio?
You can convert audio to text on your phone with Notta mobile app at any time. To generate high-quality transcriptions, you can either start a real-time recording or upload audio and video files. Notta is free to download from the Apple App Store and Google Play.
More about Notta
Save time with our AI note-taking app
Focus on ideas, not typing. Our AI handles the notes for you.
