How to Record a Webex Meeting (Step-by-Step Guide)
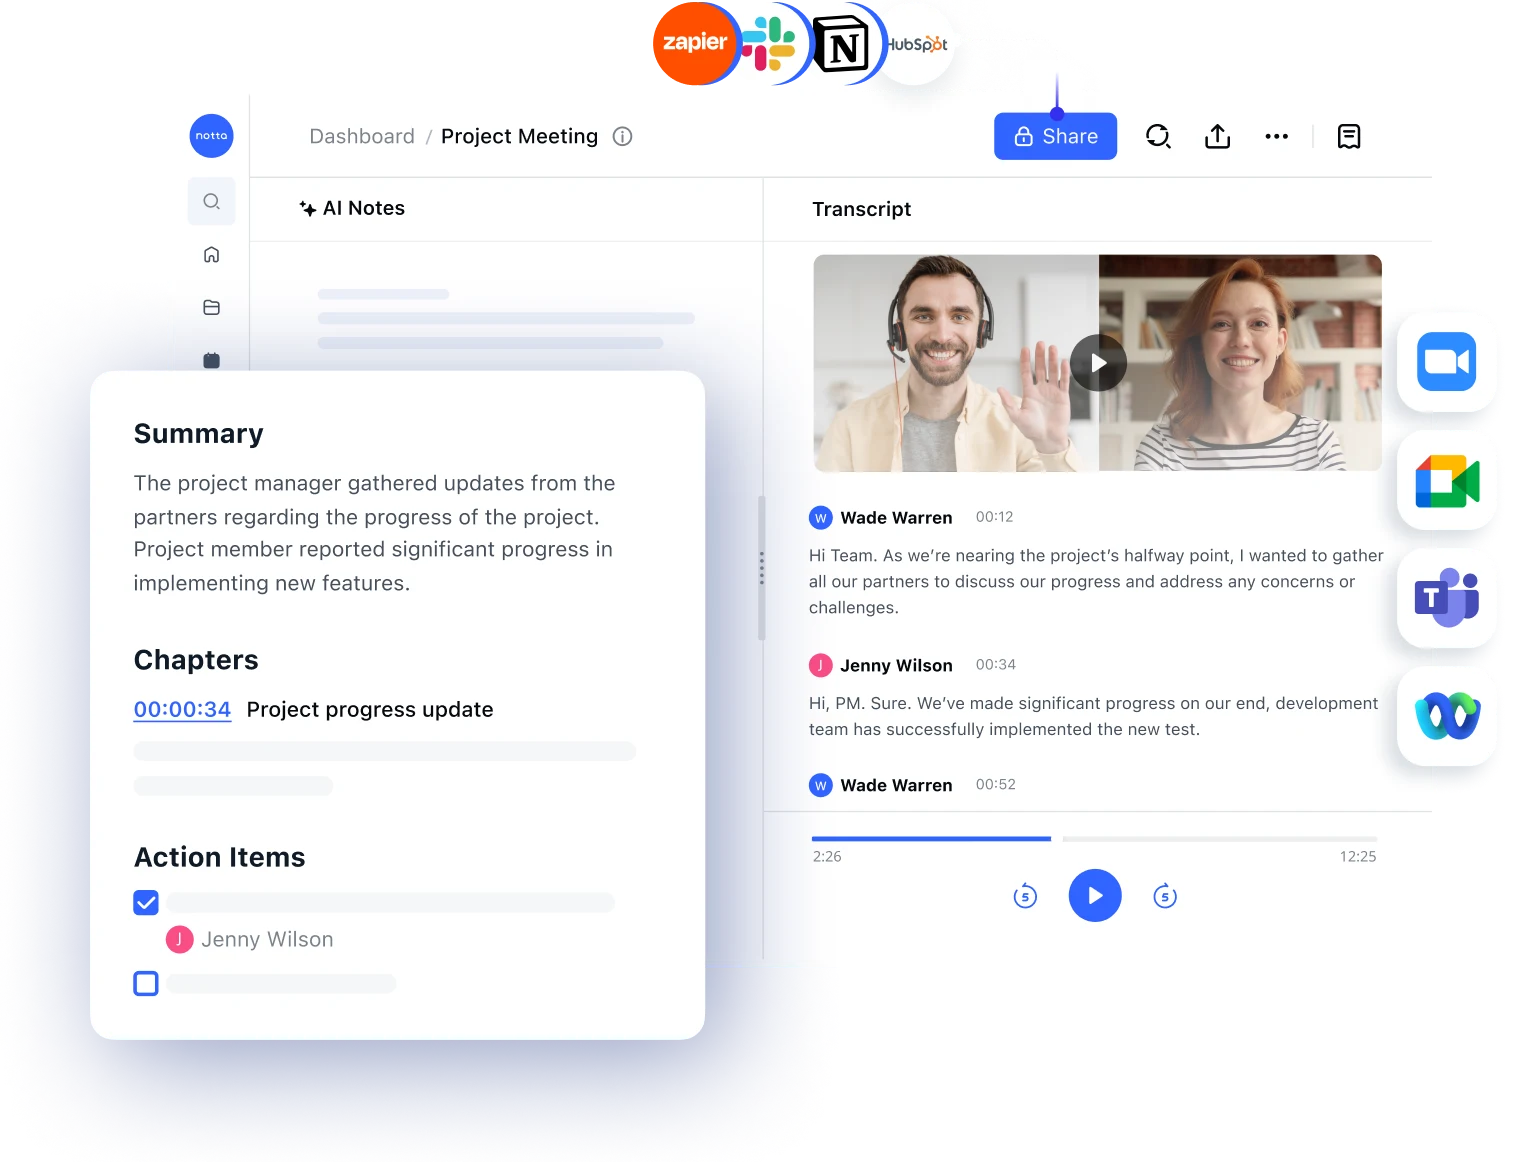
Unlock the power of AI — Notta's meeting assistant records, transcribes and summarizes meeting minutes with one click.
Do you want to learn how to record a Webex meeting easily?
Webex is a video conferencing and cloud calling tool used by businesses, students, and more. It’s used to host virtual meetings, classes, seminars, and other types of virtual events.
By recording a Webex meeting you can watch it later, share it with your team, and more. However, there are different recording options available depending on your role.
Here’s what you’ll learn in this post:
How to record a Cisco Webex meeting on the computer
How to record a Webex meeting on your phone
How to record Webex a session with Notta
That being said, let’s get started!
Before you start: Webex recording based on account type
Before you learn how to record a Webex meeting, it’s important to understand the relationship between the account type and the recording method.
Below we’ll break down the different recording options based on your account type and device.
Free vs paid Webex users
If you’re using a free Webex account, then you’ll have limited options with how and what you can record. For example, you can only record using the desktop app and you can’t save your recordings to the cloud, only locally to your computer.
If you have a premium account, then you have the option to record meetings on both desktop and mobile devices. Plus, you can easily save your recordings to your computer, or your account in the cloud.
Webex presentation rules
Depending on your role in the meeting, you’ll have different recording options available. For example, if you’re using the Webex app, then you can only record if you’re a host, co-host, or presenter.
If you’re attending the meeting as a presenter, then you’ll need to use a third-party app to record your meetings.
Webex recording based on devices
In general, the recordings from your desktop will be of higher quality than a mobile device. However, a lot of this also has to do with the speed of your internet connection.
Beyond that, there are a few other recording differences you’ll want to be aware of.
First, if you’re recording a meeting on your phone, then you can’t switch to the desktop app and continue the recording.
Second, only one user can record a meeting at a time. So, if the host is already recording the meeting, then the cohost can’t start a simultaneous recording.
Webex recording rules
Beyond the types of recording based on your account type, there are two more recording rules you’ll want to be aware of.
The first option is to record your Webex meeting in the cloud. If the host of the meeting is using a paid account, then the meetings will be stored in their online account.
So, if you’re attending the meeting and want it recorded, then you’ll need to ask the host.
The second option is to record the meeting via your computer. Meetings can be recorded locally on any level of account.
However, only the meeting host, presenter, or alternate host can actually start the recording.
How to record a Webex meeting on computer
If you’re the host of the meeting, or you’ve been given permission by the host to record the meeting, then the steps will be quite simple.
Here’s how you can record your Webex meeting both as the host of the meeting and as a participant.
Record a Webex meeting as the host
Go to your Webex live meeting and there will be a button called ‘Record’ in the bottom right-hand corner that you need to click.
Next, you’ll have the option to choose where you want to save the recording if you’re on a paid account. Premium users can choose to save the recording to the cloud or their computer. Simply choose the option you want, then click the ‘Save’ button.
After that, the recording will start and a popup will appear in the bottom right-hand corner of the screen. This lets you quickly pause and stop the recording.
Record a Webex meeting as a participant
If you’re a meeting participant, then you’ll need to ask the meeting host to make you a cohost or presenter. The meeting host can also assign multiple participants as cohosts for the meeting.
Once they make you a cohost or presenter, then you’ll have the recording options available.
If you’re not a cohost or presenter, then you’ll need to use a third-party tool and learn how to record Webex meeting without permission. You’ll learn how to easily do this below with the Notta Chrome extension and built-in phone settings.
Let our AI do the heavy lifting - record, transcribe, and summarize meetings - so that you can focus on the conversations.
How to record a Webex meeting on your phone
Another way you can record your Webex meetings is on your mobile phone. This is very convenient if you need to record a meeting on the go and you’re away from your computer.
You can record your meeting using the Webex mobile app, or the built-in recording features on iPhone and Android devices.
To record your meeting using the Webex app simply follow the steps below:
Open up the Webex app on your mobile device.
Then, click the ‘Start Meeting’ button to launch your own meeting, or click the ‘Join’ meeting to join a meeting that’s already in progress.
Click the ‘Record’ button at the bottom of the screen to record your meeting. Once the meeting is over it will be saved to your device.
On iPhone
If you’re using an iPhone to record your meeting, then follow the steps below:
First, make sure you have screen recording enabled by going to ‘Settings’ and then clicking on ‘Control Center’.
Then, click on the ‘+’ icon next to ‘Screen Recording’ to make the screen recording option available.
After that, open up the Webex app and begin your meeting.
Swipe down from the right-hand corner of your screen and then click the ‘Record’ screen button.
There will be a three-second countdown and the recording will start. It will automatically save to your library once you end the recording.
On Android
If you’re using an Android device to record your meeting, then follow the steps below:
First, you need to make sure your device has screen recording enabled. Simply swipe down from the top of the screen and you should see the screen recording listed.
If it doesn’t show up, then you need to click the ‘Pencil’ icon.
Then, select the ‘Screen record’ icon to add it to your menu.
Next, open up the Webex app on your Android phone and start a new meeting, or join a meeting in progress.
When the meeting is in progress, swipe down from the top of your screen and click the ‘Screen record’ option.
Click the ‘Start’ button to record your Webex meeting.
How to record a Webex meeting with Notta
The final way you can record your Webex meetings is by using the Notta Web app.
Notta is a free AI meeting note-taking app that lets you easily record your Webex meetings in a couple of clicks. Plus, it lets you transcribe your Webex meetings, sync across multiple devices, export into multiple formats, and even transcribe meeting audio into 58 different languages.

Simply follow the steps below to record your Webex meetings with the Notta Web app:
First, you need to create a Notta account. You can choose between free and premium plans.
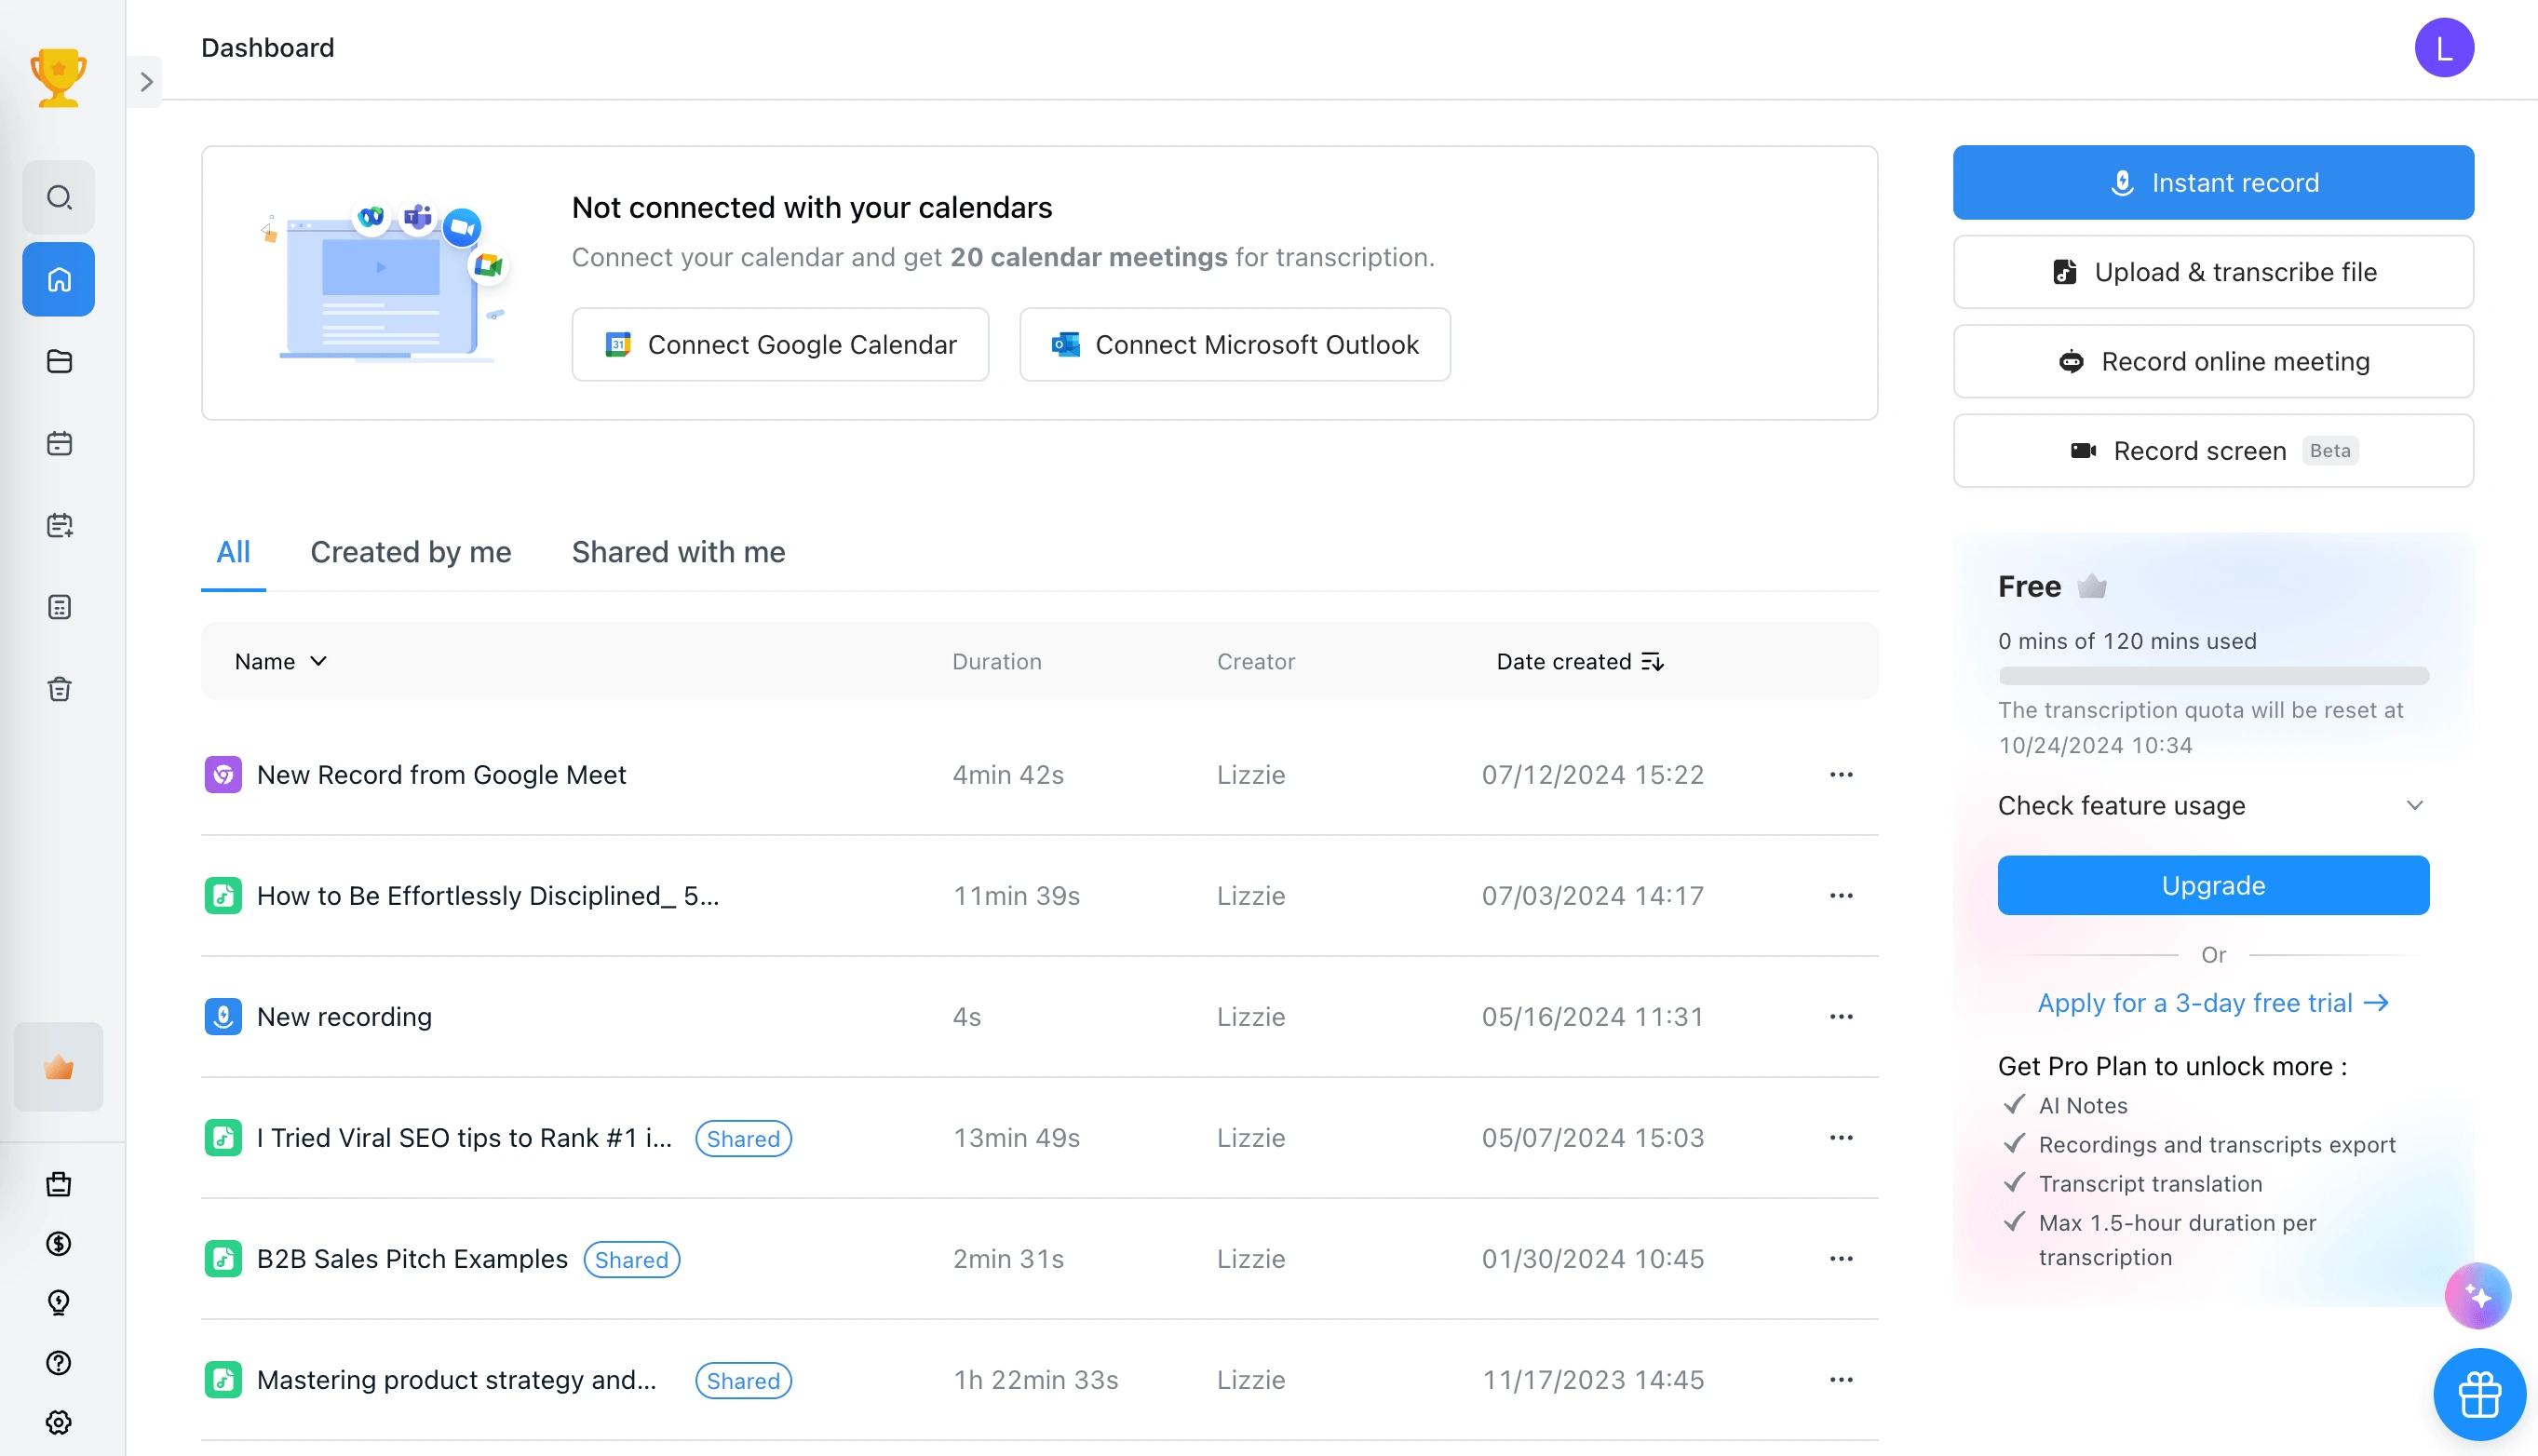
Next, you need to login to your Notta account and click the ‘Record online meeting’ button. Paste the meeting invitation link on the pop-up window and allow Notta to enter your meeting.

Once approved, Notta will join your online meeting, record the conversation, and transcribe in real-time.
When your meeting is over simply click the ‘Stop’ icon back in your Notta account and the audio and transcript will automatically be uploaded to your account dashboard. You can also click the ‘Pause’ button if you want to pause the recording for any reason.
Notta offers the most integrated AI meeting notes, summaries, and action items so nothing gets missed.
Closing thoughts
Hopefully, this article helped you learn how to record a Webex meeting with audio and video using a few different methods. Recording your Webex meeting makes it easy to review important points and share it with other members of your team.
If you want to create transcriptions of your meeting, then check out Notta. It automatically transcribes your meetings, so you can edit, review, and share your transcriptions.
FAQs
Why can't I record my Webex meeting?
Webex has certain rules built into the platform that only allow certain users to record meetings.
The only people who can record meetings in Webex are the host of the meeting, a cohost, or the person who is currently presenting. Another way to record a meeting is to ask the host of the meeting to make you a presenter.
Otherwise, you’ll have to use a third-party tool like Notta to record your meeting.
There are also restrictions based on if you’re on a free or premium plan. If you’re using the free version of Webex, then you won’t be able to record meetings on your mobile device. You can only use the desktop app.
Where is my Webex meeting recording saved?
Webex stores your recordings in your account dashboard and you can download them at any time. You can also store your recordings on your computer.
If you’re recording a Webex meeting on your mobile device, then it will also be saved to your mobile device or your Webex account.
If you’re using a third-party app or built-in recording on mobile devices, then it will also be saved locally to your device.
How do I get a Webex recording transcript?
If you’re on one of the paid plans, then there’s a built-in recording feature. You can choose to enable transcription for all of the meetings that you record within your Webex recording settings.
Then, you can access your meeting transcriptions from within your Webex account.
Another way to get a transcription of your Webex recordings is by using an app like Notta. With Notta you can transcribe the audio for your meetings in real-time. Then, you can edit, share, add notes, and more once the meeting is over.