
18 Best Transcription Software for Mac
Saving time and effort with Notta, starting from today!
If you’re looking for the best transcription software for Mac, you're in the right place.
When your job requires transcribing huge volumes of audio or video files into text, the process can get time-consuming and expensive, especially when you decide to outsource and hire a freelancer.
But thanks to AI and technology, you don’t need to undergo the tedious transcription process.
All you need is reputable transcription software, and you’re good to go. These software solutions allow audio and video transcriptions to be done in as fast as a few minutes. They also guarantee the transcribed text is accurate, allowing you to reach a wider audience.
However, choosing the best transcription software is not a walk in the park. There are factors to consider, including the device you’re using. Not all transcription software tools work across all gadgets.
This article lists 18 of the best options you can use for a Mac. Let’s take a look at each software’s features, benefits, and pricing options.
Comparing the best transcription software for Mac
Before we dive deep into the details, below is a brief overview of our top transcription software recommendations and a quick comparison of their prices, deployment, and number of languages supported.
| Transcription software | Deployment | Number of languages supported | Free trial | Price | Accuracy rate |
|---|---|---|---|---|---|
| Notta | Web-based, SaaS, Android, iOS, iPad | 58 | Free trial for three days | Pro plan starts at $8.17 per user per month | 98.86% |
| Rev | Web-based | 33 | N/A | Starts at $0.25 per minute | 86% |
| Happy Scribe | Web-based | 120 | Free trial available | $9 per month | 85% |
| Express Scribe | Windows, Mac | N/A | No free version | Starts at $5.50 per month | 99-100% |
| Descript | SaaS, On cloud, Web-based, Mac, Windows | 22 | Free version available | $16 per editor per month | 95% |
| Inqscribe | Mac, Windows | 161 | Free trial available for 14 days | $99 per license | 95% |
| Simon Says AI | Web-based, Mac, Windows, iPhone | 100 | Free trial available | Starts at $15 per month | 95% |
| Sonix | Web-based | 38 | Free trial for 30 minutes | Starts at $22 per month | 97% |
| Otter | SaaS, On cloud, Web-based, iOS, Android, iPad | English, Spanish, French | Free trial and free version available | Starts at $8.33 per month | 95% |
| Dictate App | Mac, iPad, Web-based | 16 | Free trial for 3 days | Starts at $7.99 per month | 97% |
| GoTranscript | Web-based | 47 | No free version or free trial | Starts at $0.77 per minute | 99% |
| The FTW Transcriber | Web-based, Android, Windows | English | Free version | Free | 90% |
| Trint | iOS mobile, Web-based, SaaS, On Cloud | 54 for translation, 31 for transcription | Free trial for 7 days | Starts at $78 per month | 99% |
| interviewScribe | Mac | English and Japanese | No free trial | $9.99 for one license | 90% |
| Nova AI | Web-based | 22 | Free version | $10 per month for 150 video transcriptions | 97% |
| CLOx | Mac | English | Free version | Free | 90% |
| Temi | iOS, Android, Web-based | English | Free trial for 45 minutes | $0.25 per minute | 88.3% |
| Qwaz Audio | Mac, Web-based | 2 | Free version, available | $13.99 per month | 85% |
In-depth reviews of 18 transcription software
Now that you’ve got an idea of what each transcription software is like, let’s take a second to go over each of them in depth.
Here are reviews of each of the top transcription software for Mac, along with why they’re so great and what makes them stand out!
1. Notta
Best Software for Transcribing and Translating Audio to Text on Mac.
Notta is an all-in-one transcription software for Mac users. It enables real-time audio transcribing from calls, podcasts, videos, radio shows, live streams, and more. Plus, Notta also allows the sharing of these transcripts or texts with no downtime.
This makes it an excellent solution for various tasks, such as generating meeting minutes, transcribing interviews, or capturing your innovative thoughts in audio format.
Moreover, Notta is an advanced transcription tool leveraging artificial intelligence technology. It offers automatic transcription capabilities and boasts support for 58 languages for transcription and 42 languages for translation.
Additionally, Notta allows you to import files or links, allowing you to transcribe audio and video files for as long as five hours. Versatility is the name of the game with Notta. It’s compatible with various apps and web versions. Plus, a Chrome extension is also available.
Notta is accessible across several devices, including tablets, PCs, and smartphones. It also assures data safety with its guaranteed data encryption and security protection.
Notta provides a range of options to cater to different needs, including Notta Basic and Notta Pro for individuals, as well as Notta Business and Notta Enterprise for teams.
Features
Versatility with its compatibility with various devices and Chrome extension
Real-time or pre-recorded audio and video transcription
Supports 58 transcription languages
Transcriptions generated through AI
Pros
98% accurate editing and transcribing capability
Highly intuitive and user-friendly interface
Multi-device login
Supports several file formats, including SRT, TXT, DOCX, and PDF
Cons
No manual transcription
Needs a stable Internet connection
Price
Free Plan
Pro Plan: $8.17 per user per month
Business Plan: $16.67 per user per month
Enterprise Plan: Contact sales
Transcribe audio/video to text in minutes
Notta can convert your spoken interviews and conversations into text with 98.86% accuracy in minutes. Focus on conversations, not manual note-taking.
2. Rev
Best for Professional Transcription and Caption Services.
Following the compliance regulations of ADA and FCC, Rev allows smooth integrations with JW Player, YouTube, Vimeo, and other platforms. It can also support more than ten languages aside from English.
As one of the reputable transcription software, Rev is trusted among professionals and businesses that need accuracy through its manual transcription and closed caption services. It’s also one of the market's most affordable automated transcription services.
Rev ensures quick audio and video transcriptions and can also transcribe sensitive information, including the medical and legal fields. You can also utilize additional functionalities, including time stamping and fast turnaround.
Rev is compatible with any browser because of its web-based service. But if you want to experience a seamless performance, the company recommends using Google Chrome’s latest version. And while Rev has a mobile app where you can record and drop audio files, it’s still best to use the computer to access all the software’s features.
Features
AI-based professional transcription service
Supports 33 global languages for your subtitles
Capable of transcribing and placing live captions on Zoom
Strictly confidential and secure services
Pros
Live Zoom captions
24/7 customer support
End-to-end AI-based Transcription
Cons
Customer service is not always responsive
No free version
No self-transcription
Limited editing options
Price
Human Transcription: $1.99 per minute
English Captions: $1.99 per minute
Global Subtitles: $6.49 to $15.99 per minute
3. Happy Scribe
Best Transcription Software for Video Subtitles.
Happy Scribe is another online transcription software for anyone who needs audio and video file conversions. It’s preferred by video editors, researchers, podcasters, journalists, and other professionals thanks to its easy-to-use platform.
One cool feature of Happy Scribe is that it can add subtitles to your videos, allowing your audience to understand what they are watching. That’s true even if you have the video on mute! Plus, it facilitates quick and automated transcriptions in just a few minutes, so you’re not waiting around for your transcription to finish.
To use Happy Scribe, just upload your audio or video files to the platform, and the automated transcription process will convert the spoken words into text. The platform supports a variety of audio and video formats, including MP3, WAV, M4A, and MP4. Once the transcription is complete, you can then go back and edit the text, export it to different file formats, and download it for further use.
Features
Ability to adjust the transcription speed
Multi-language support
Features a text editor with playback options
Ability to add subtitles to videos
Pros
Accurate machine translation
Intuitive web interface
A sharing link you can send to colleagues to access editable transcripts
Cons
Manual editing is sometimes needed to correct inaccuracies in transcriptions
Hit-and-miss speaker identification when transcribing audio
Not 100% accurate with the audio’s tone and context
A small risk of data breach when uploading video and audio files
Price
Pay as you go from $12 per 60 min
Lite: $9 per month ($0.15/min)
Pro: $29 per month ($0.05/min)
Business: $89 per month ($0.01/min)
4. Express Scribe
Best Transcription Software with Foot Control Pedal Services.
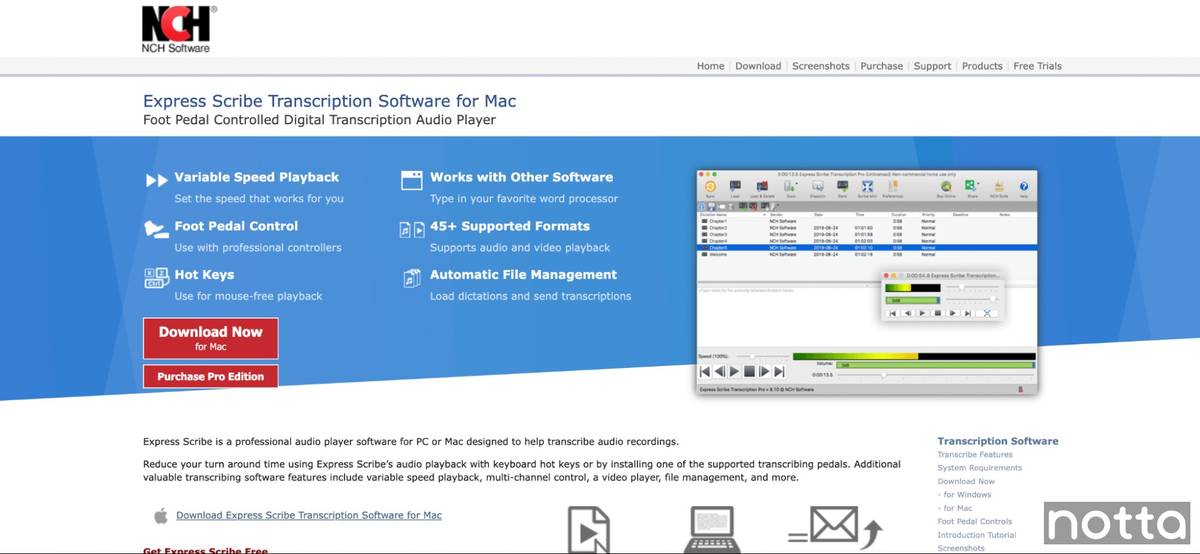
Express Scribe is an American transcription tool that runs well on both Windows and Mac and supports over 45 video and audio formats. This transcription software also allows integration with other handy programs, such as FastFox Typing Expander, Express Dictate Dictation Recorder, and more.
Besides all that, Express Scribe supports six languages and can accurately transcribe lectures, dictations, voice notes, interviews, and movies, among other things. The platform is also famous for its USB foot pedal control features. This handy feature allows users to transcribe audio uninterrupted. Plus, it lets them control the playback speed of the clip.
With the software’s affordability and intuitive interface, it’s ideal for video transcriptions in a number of professional fields. A couple of examples include the legal and medical industries, thanks to their high accuracy rate. Moreover, its extensive customer support allows you to get help through email, chat, and support forums. If you ever have an issue, these guys will take care of you.
Features
Supports several audio and video file formats
The foot pedal control feature allows a seamless increase of words per minute.
Compatible with other software and hardware
Accurate transcriptions for video captions and subtitles
Pros
Customizable feature
Unique foot pedal control features
Easy-to-use software with a user-friendly interface
Hotkey support
Cons
A bit of a learning curve for beginners
No web and cloud-based version
Unresponsive customer support
Price
Starts at $5,50/mo, with a free trial available
5. Descript
Best Transcription Software with Manual and Automated Transcription Available for Mac.
Descript is an outstanding Mac transcription software that features manual and automated services. And because it has one of the most modern UIs among transcription services, it’s ideal to use this tool in professional fields.
Descript is also outstanding when it comes to transcript management and creation. This intelligent audio editor allows automated audio content transcriptions and other innovative features that take on all the hard work for you.
This transcription tool is powered by Google Search to guarantee accurate text transcriptions. But it also does a fantastic job with manual transcription. It also lets users gain complete control over the audio file while playing and syncing transcribed data.
Descript is cloud and web-based without a mobile application. It supports several languages and can transcribe audio and video files in a few minutes.
Features
Capable of manual and automatic transcription
Automatically detect and remove filler words
Allows live training and collaboration with your team
Data security is compliant with SOC 2 Type 2
Pros
Comes with a free version
Exceptional data security prevents data breach
Feedback and collaboration functionality
Modern and intuitive user interface
Cons
Not always accurate with other languages aside from English
No mobile application available for Android devices
No audio playback control and foot pedal features
Price
Free version
Hobbyist: $16 per editor monthly
Creator: $24 per editor monthly
Business: $50 per editor monthly
Enterprise: consultation required
Professional transcription — never miss a detail again
Notta accurately records every word and detail spoken during conversations in real-time with 98.86% accuracy.
6. Inqscribe
Best Mac Transcription Software for Beginners.
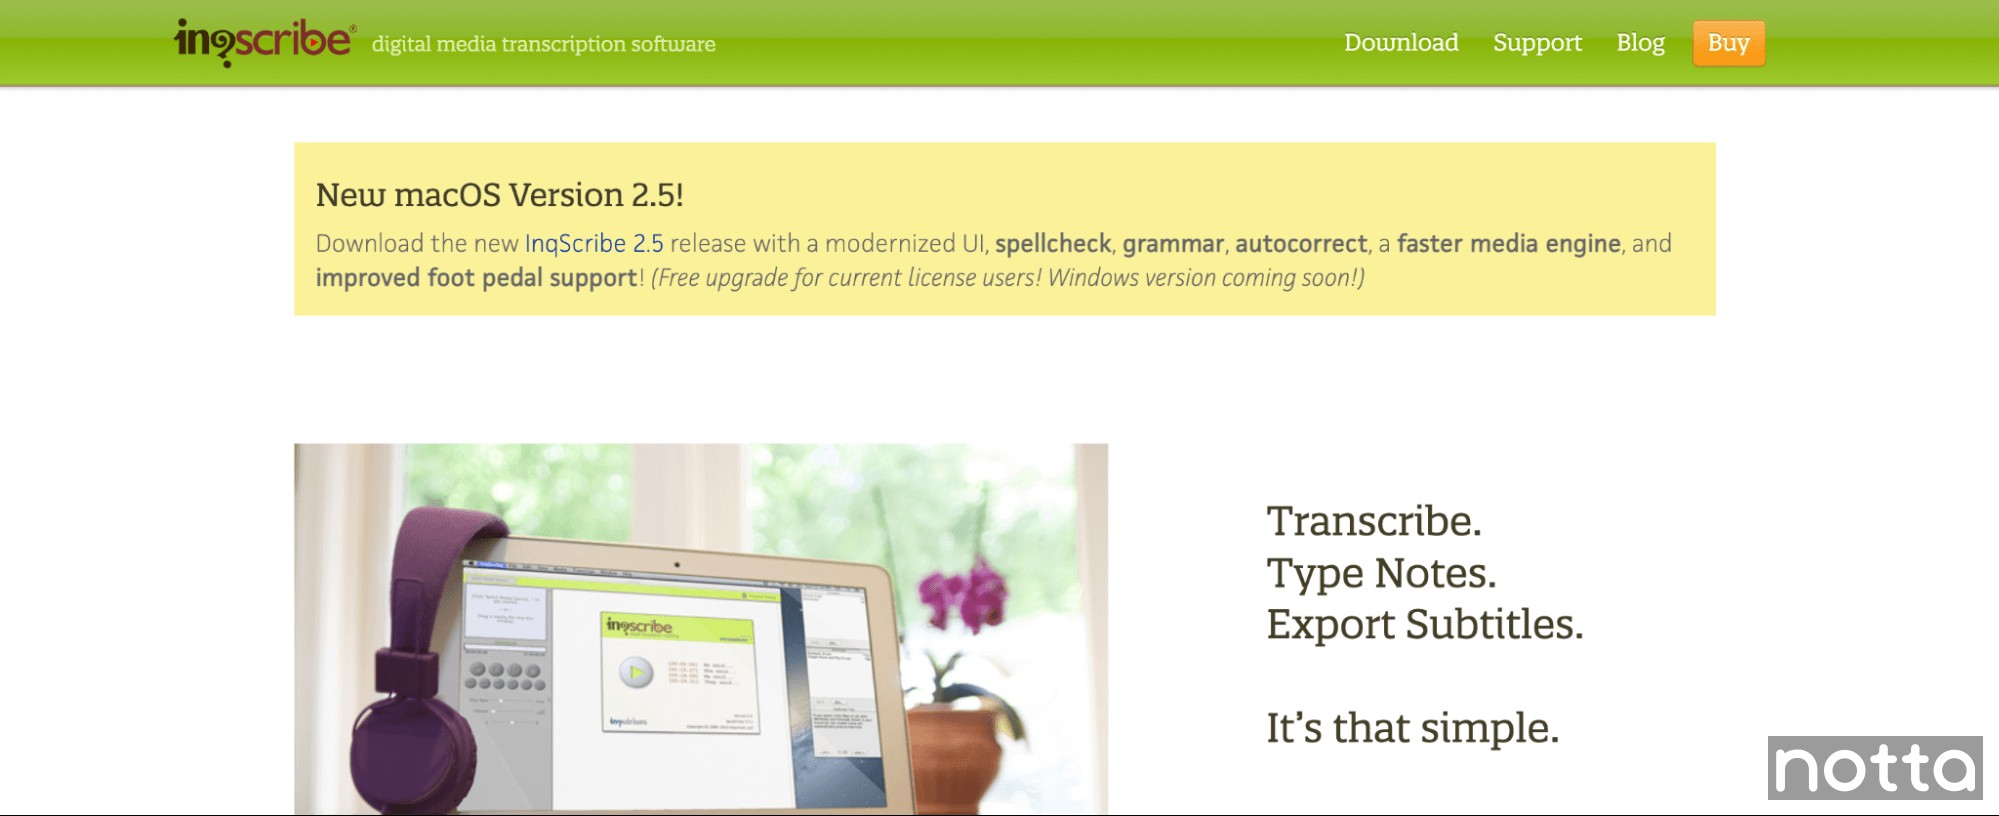
Inqscribe features a distraction-free environment during transcription. It’s a straightforward transcription provider with simple features, ideal for beginners. Inqscribe does not have innovative features, but it does its job well with transcribing and translating video and audio files.
Although there are no customization features, everything you need is clearly depicted on the software’s dashboard. Easy controls include adding audio sources and starting the playback. And because everything is straightforward, transcribing using this software is peaceful and convenient.
Inqscribe also allows transcribing movies and adding timestamps during playback. After translating and transcribing, you can easily export to your chosen format. This software’s customer support is available through blogs, user guides, and a knowledge base. It can also support several languages aside from English.
Features
Simultaneous video-playing and note-typing in a single window
Keystroke control that allows the insertion of frequently used texts
Capable of typing anywhere in the transcribed text
Support multiple languages and use them in one document
Pros
Affordable
Easy to use, perfect for beginners
Easy playback and control
Simple user interface that’s easy to understand
Cons
No additional automated tools for translation and transcription
Price
Free trial available
The licensed product is $99
7. Simon Says AI
Best Security-Focused Mac Transcription Software.
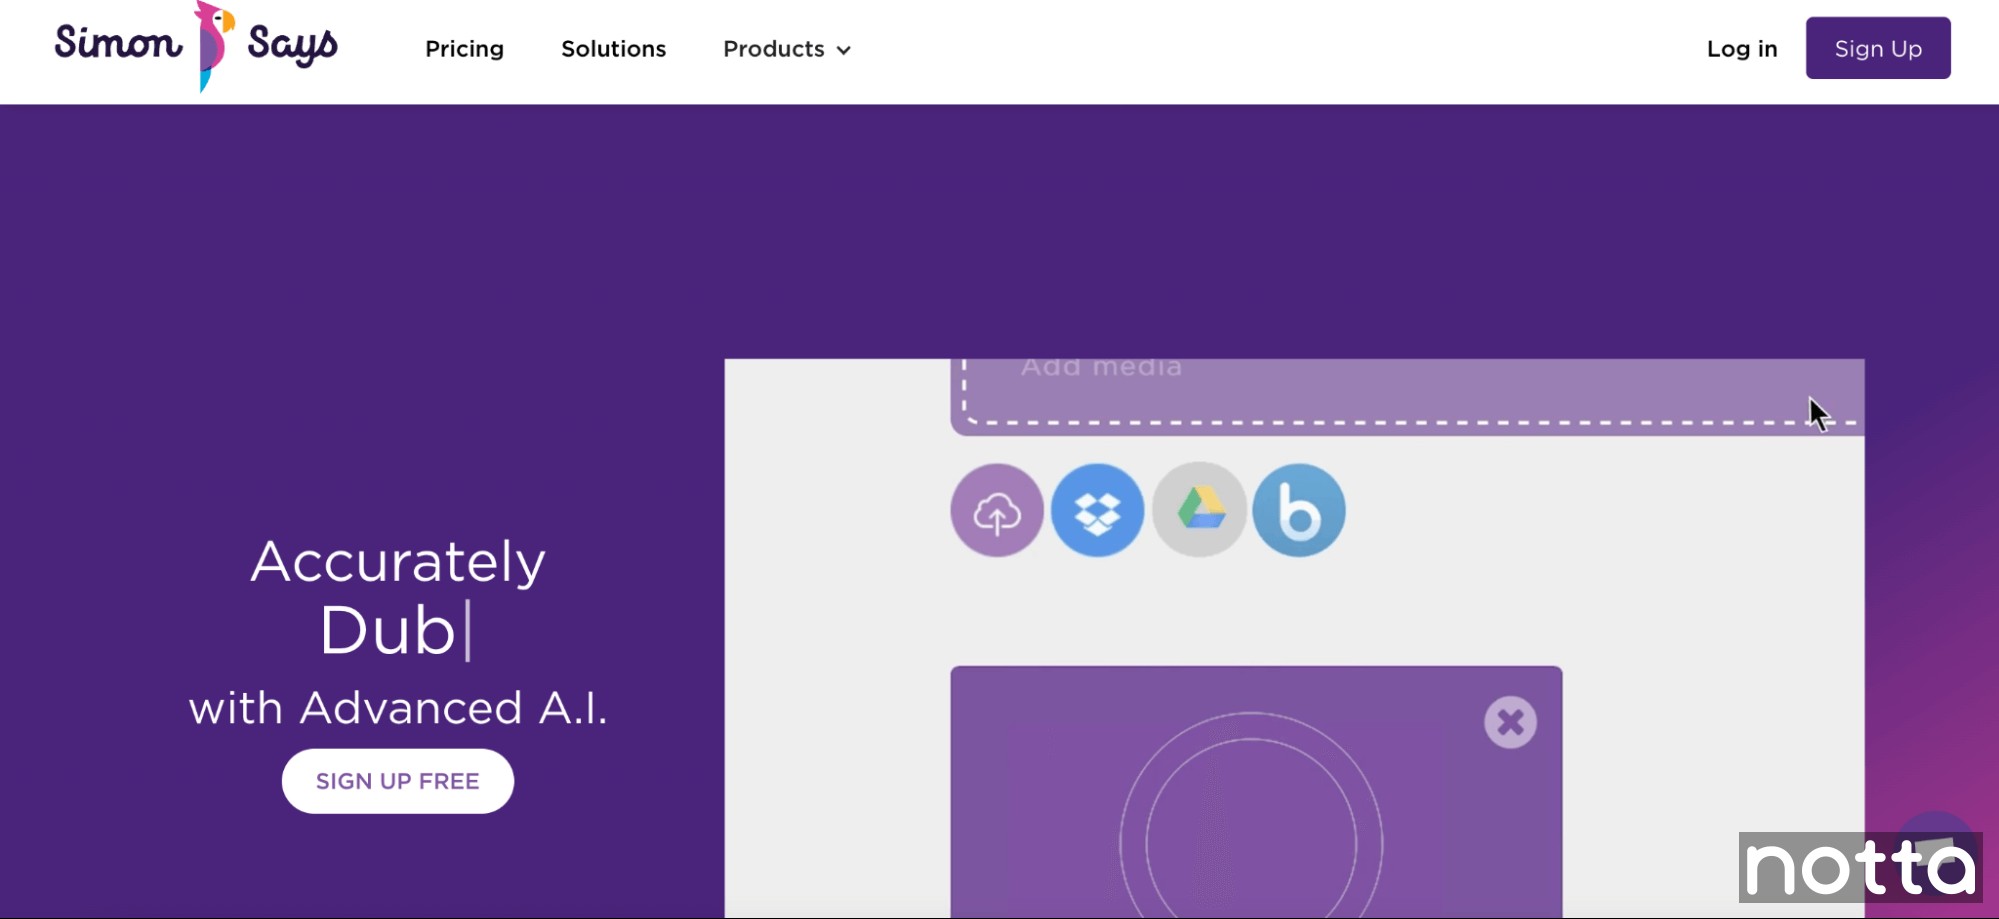
Simon Says AI is an automated transcription and video editing platform. It utilizes artificial intelligence technology to provide accurate and efficient transcription services. At the same time, this platform comes with advanced video editing capabilities to help you really hone in on the end product.
Simon Says AI aims to assist content creators, professionals, and organizations in easily transcribing, editing, and managing audio and video content. The best part is that because it’s focused on security, you can guarantee everything uploaded to the software is protected from outside spyware and hackers.
Simon Says AI provides an intuitive web-based editor where you can edit your transcripts by making corrections, adding timestamps, and making formatting changes. The platform also supports collaboration so that multiple users can simultaneously work on the same transcript.
Simon Says AI is also compatible with direct transcript exports to popular software, including Adobe Premiere Pro.
Features
Speech recognition to convert audio and video files into written text
Lets users create subtitles or closed captions for their videos
Supports more than 100 languages
Encrypted AI transcription
Pros
Quick integration with other software and applications
User-friendly interface
Automated and accurate transcription services
Cons
No self-help guides
Too complicated for beginners
Price
Pay as you go: $15/hour or $0.25 per minute
Starter: $15 per user/month
Pro: $33 per user/month
Pro+: $125 per user/month
8. Sonix
Best Transcription Software with Automation Tools.
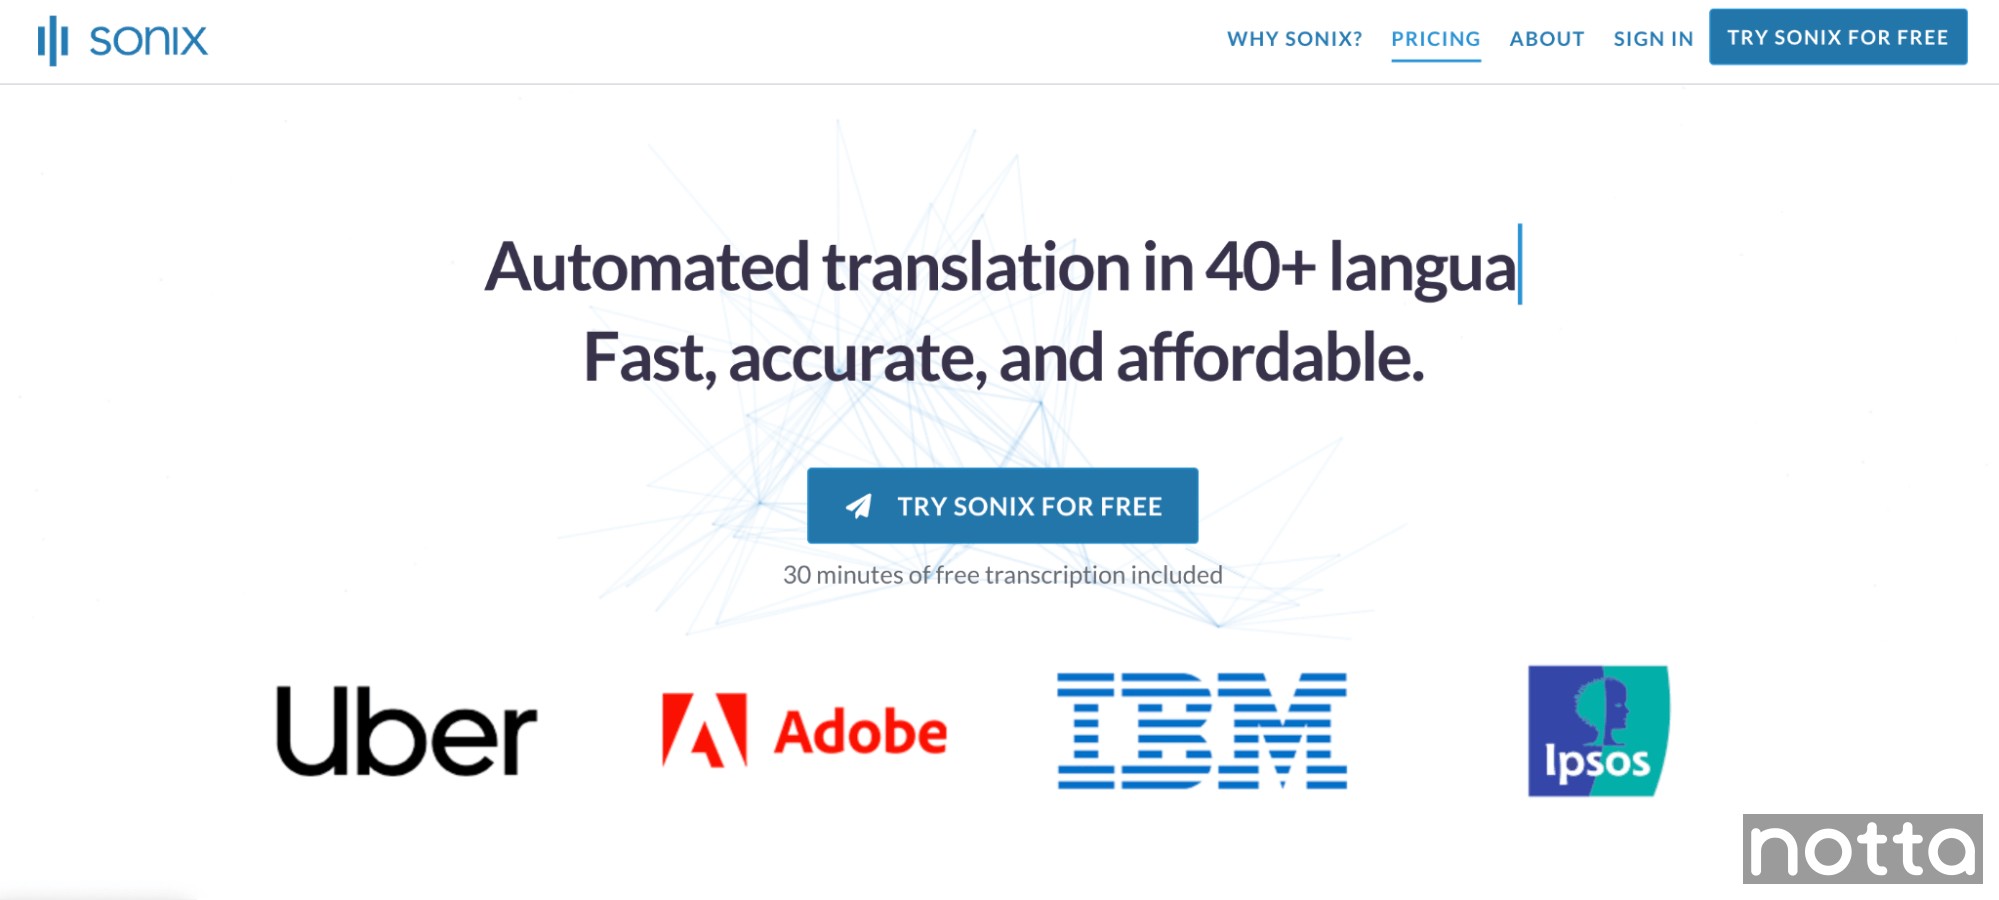
Sonix is another reputable transcription service provider supported by several clients in more than 100 countries. It supports a wide variety of languages, making it easier to translate multiple languages into one document.
Sonix also features a custom dictionary that lets you automatically enter words included in your old transcribed files. This transcription software has more than 90% accuracy in transcribing video and audio files and converting them to your chosen file formats.
The most notable features are audio realignment and an interactive media player. It allows users to easily follow the words mentioned in the podcast and repeat a specific section within the audio with a simple click.
Features
Convert more than 35 languages of audio and video files to text
Features automation and innovative tools to add video subtitles
Functionalities for file-sharing, publishing, and collaborating
Interactive media player
Pros
Seamless integration with famous applications like Adobe Premier and Zoom
Guaranteed data security with SSL compliance and two-factor authentication
The custom dictionary saves time when transcribing long audio files and videos
Cons
No mobile application
Price
Free 30 minutes of transcription
Standard: $10 per hour
Premium: $22 per user and $5 per hour monthly
Enterprise: consultation required
9. Otter
Best Transcription Software for Recordings on Phone.
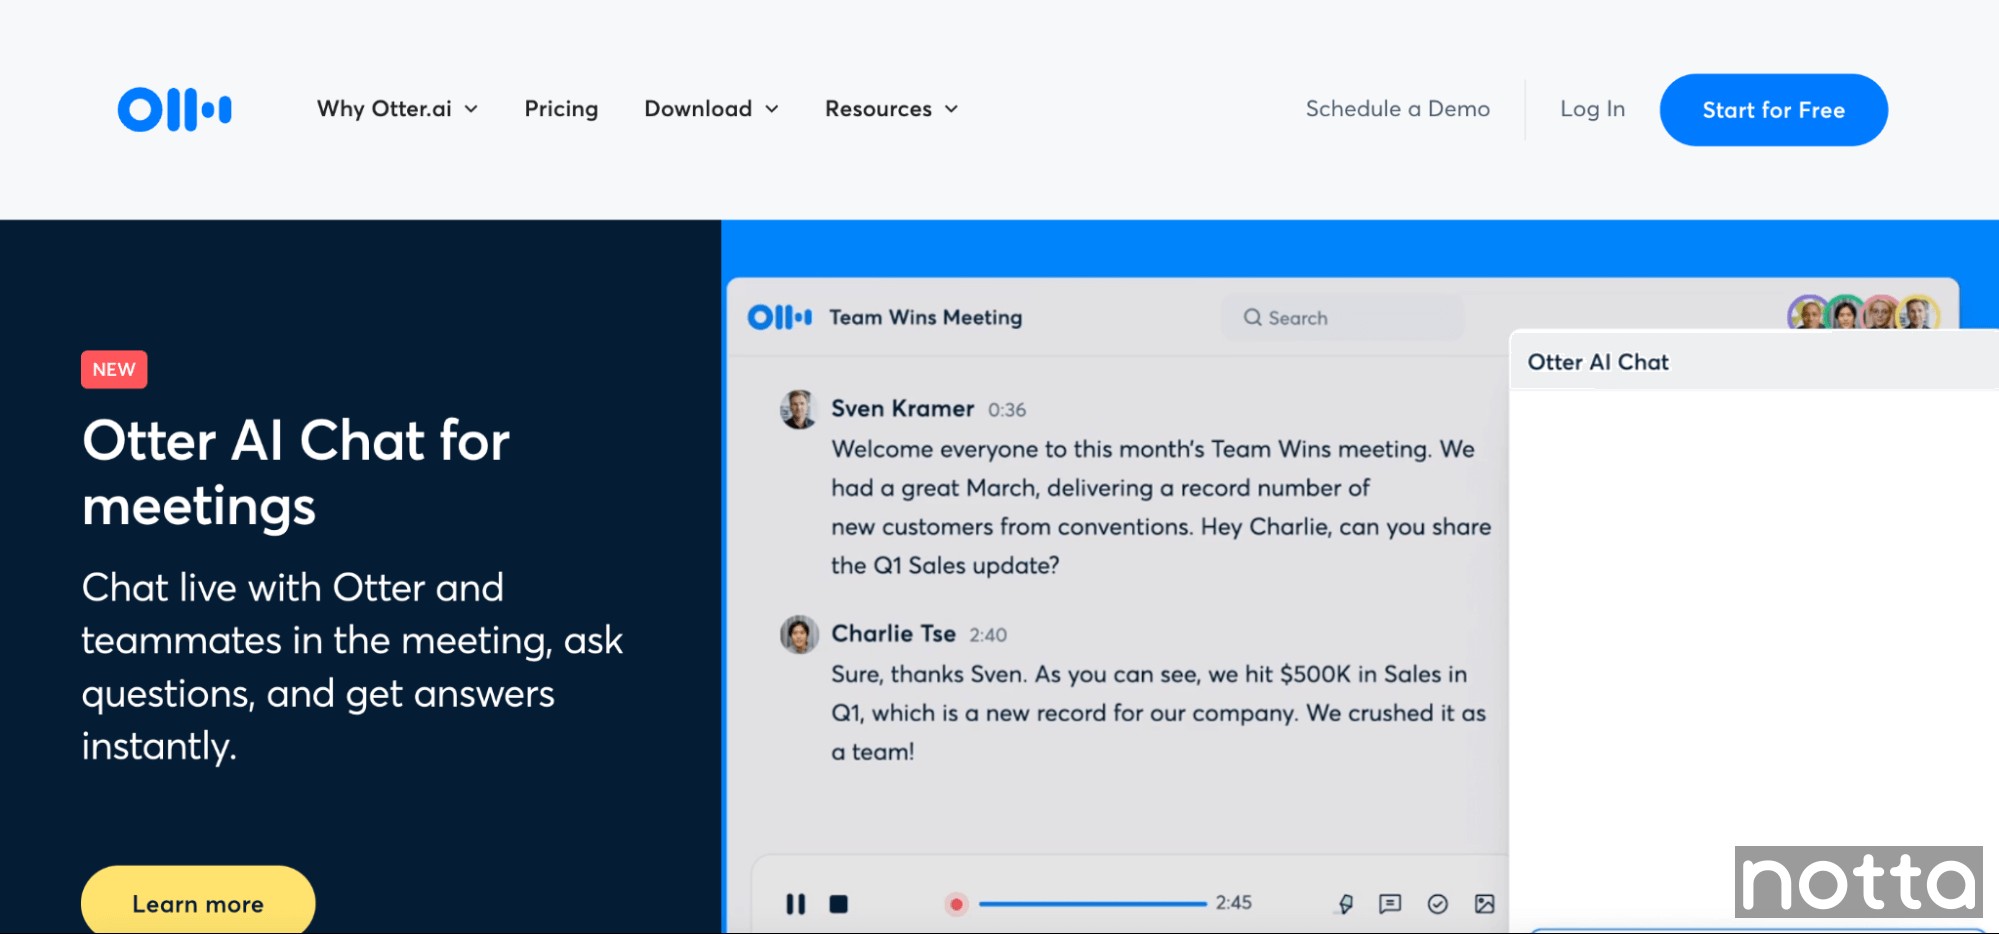
Otter caters primarily to professionals and academics who wish to capture and transcribe meetings and lectures. It employs artificial intelligence and natural language processing technology for its transcription services and incorporates speech identification software to distinguish between different speakers.
The platform offers various features, including adding speaker labels, notes, images, and key phrases, eliminating the need for external tools or services. Otter provides an intuitive app interface where users can conveniently edit and manage their transcriptions.
Additionally, Otter facilitates seamless integration with Google and Microsoft calendars, allowing users to connect their accounts. This integration enables the platform to automatically join and record meetings on popular communication tools such as Zoom, Microsoft Teams, and Google Meet.
Features
Real-time notes on videos and audio
Playback speed control
Multiple exports of documents in different formats
Two-factor authentication and TLS encryption ensure data security
Can recognize individual speakers and assign the right script when transcribing audio
Pros
Allows integration with famous applications like Zoom
Mobile application is easy to use
Can identify multiple speakers in a single audio file
Cons
No additional advanced features
Transcripts are not 100% accurate
Price
A basic or free plan is available
Pro: $8.33 monthly
Business: $2-0 monthly
Enterprise: Consultation required
10. Apple Dictate App
Best Mac Transcription Software for iPhone and iPad.
When looking for transcription software with an efficient mobile application, you want one that offers maximum compatibility with your iPhone or iPad. And the Dictate App does its job well in this area.
The Dictate app allows offline transcription and supports eight languages. Plus, it also offers manual and automatic transcriptions and translations. The app is exclusively available for iOS devices, and you can download it for free.
Dictate also allows easy synchronization through iCloud across all your Apple devices.
Features
Offline functionality, offering convenience
iCloud synchronization
Automatically delete text on the record
Pros
Easy to use
Affordable
Offers special functionality for disabled people, especially the blind and the deaf
Cons
No playback control
Price
Free trial for 3 days
$6.99 per month
11. GoTranscript
Best Software for Human-Based Transcription.
GoTranscript is an online transcription and translation service that provides professional transcription and translation solutions for various industries and individuals. It offers various services, including audio and video transcription, captioning, subtitling, and document translation.
The main advantage of GoTranscript is the four-step process to verify accuracy. After translation and transcription, documents are proofread and reviewed to guarantee 99% accuracy. Moreover, GoTranscript takes pride in its human-generated transcriptions.
GoTranscript provides extensive customer support via chat, phone, and email. It supports 47 languages with easy integration with other applications.
Features
Human-generated transcription
Transcribe and translate 47 languages in one document
Easy integration within your internal system
Pros
The fours-step verification process ensures accuracy in the transcription provided
Easy integration with Dropbox and Google Drive
Affordable
Cons
Only offer manual transcriptions
Price
5-day service: $0.77 per minute
3-day service: $0.94 per min
1-day service: $1.11 per min
6-12 hour service: $2.13 per minute
12. The FTW Transcriber
Best Transcription Software with Premium Sound Quality.
FTW Transcriber is a transcription software that makes transcribing audio and video files a breeze. It’s mainly used by professionals who frequently need to transcribe audio and video for work.
The best thing about The FTW Transcriber is that the entire platform is free. Considering the wide variety of features it offers, that makes it pretty tempting to use.
The FTW Transcriber prioritizes the privacy and security of user data by letting you work offline, eliminating the need to upload sensitive audio or video files online. This provides an added layer of confidentiality and control over the transcription process. Just note that it doesn’t have a web-based application at all, which could be inconvenient for some users.
Features
Automated timestamp functionality
Support various video and audio file formats
Security-based transcription software
Pros
Free
Convenient and easy to use
Cons
No additional innovative features
Price
Free
13. Trint
Best Transcription Software for Real-Time Services.
Trint, a widely used transcription software, caters to a diverse range of professionals, such as journalists, media producers, researchers, authors, academics, and freelancers. Founded by Jeff Kofman, a renowned reporter and foreign correspondent, Trint has grown to employ over 100 individuals and is headquartered in London.
Trint supports 54 languages for translation and 31 for transcription. It also ensures end-to-end data encryption with its ISO 27001:2013, PCI DSS compliance, and AES 256-bit encryption.
Features
Audio and video files can be converted into written content.
Transcription services are available in 31 languages.
The software provides tools to edit and modify the transcribed documents.
Finished documents can be shared in various formats.
Data security is ensured with ISO certification.
Transcripts can be translated into 54 languages.
Pros
Easy integration with Adobe Premiere Pro
A free trial is available
You can pause your paid plan anytime
Cons
No mobile application
Price
Free trial is available for 7 days
Starter: $48 per month
Advanced: $60 per month
Pro Version: $68 per user per month
Enterprise: Consultation required
14. interviewScribe
Best Mac Transcription Software for Manual Transcriptions.
interviewScribe is transcription software designed for Mac users, offering a manual transcription approach. The software simplifies the transcription process by segmenting the audio into manageable sections referred to as phrases.
Users have significant flexibility in transcribing these phrases according to their preferences. interviewScribe supports English and Japanese languages exclusively.
The software aids the transcription process by breaking the audio into smaller segments called phrases. These phrases make it more manageable for transcribers to work on smaller audio sections simultaneously, improving efficiency and accuracy.
interviewScribe offers users a high degree of flexibility in transcribing phrases. Users can transcribe the content in a way that suits their preferences, whether by using keyboard shortcuts, custom formatting, or other methods that enhance their transcription workflow.
Features
Manual transcription is ideal for language learners, especially Japanese and English
Flexible phrase-based transcription
Pros
You just need to purchase once to use the software
User-friendly and straightforward interface
Extensive playback controls
Cons
No free trial
Price
$9.99: one-time payment to get the entire license
15. Nova AI
Best Software for Quick Transcriptions.
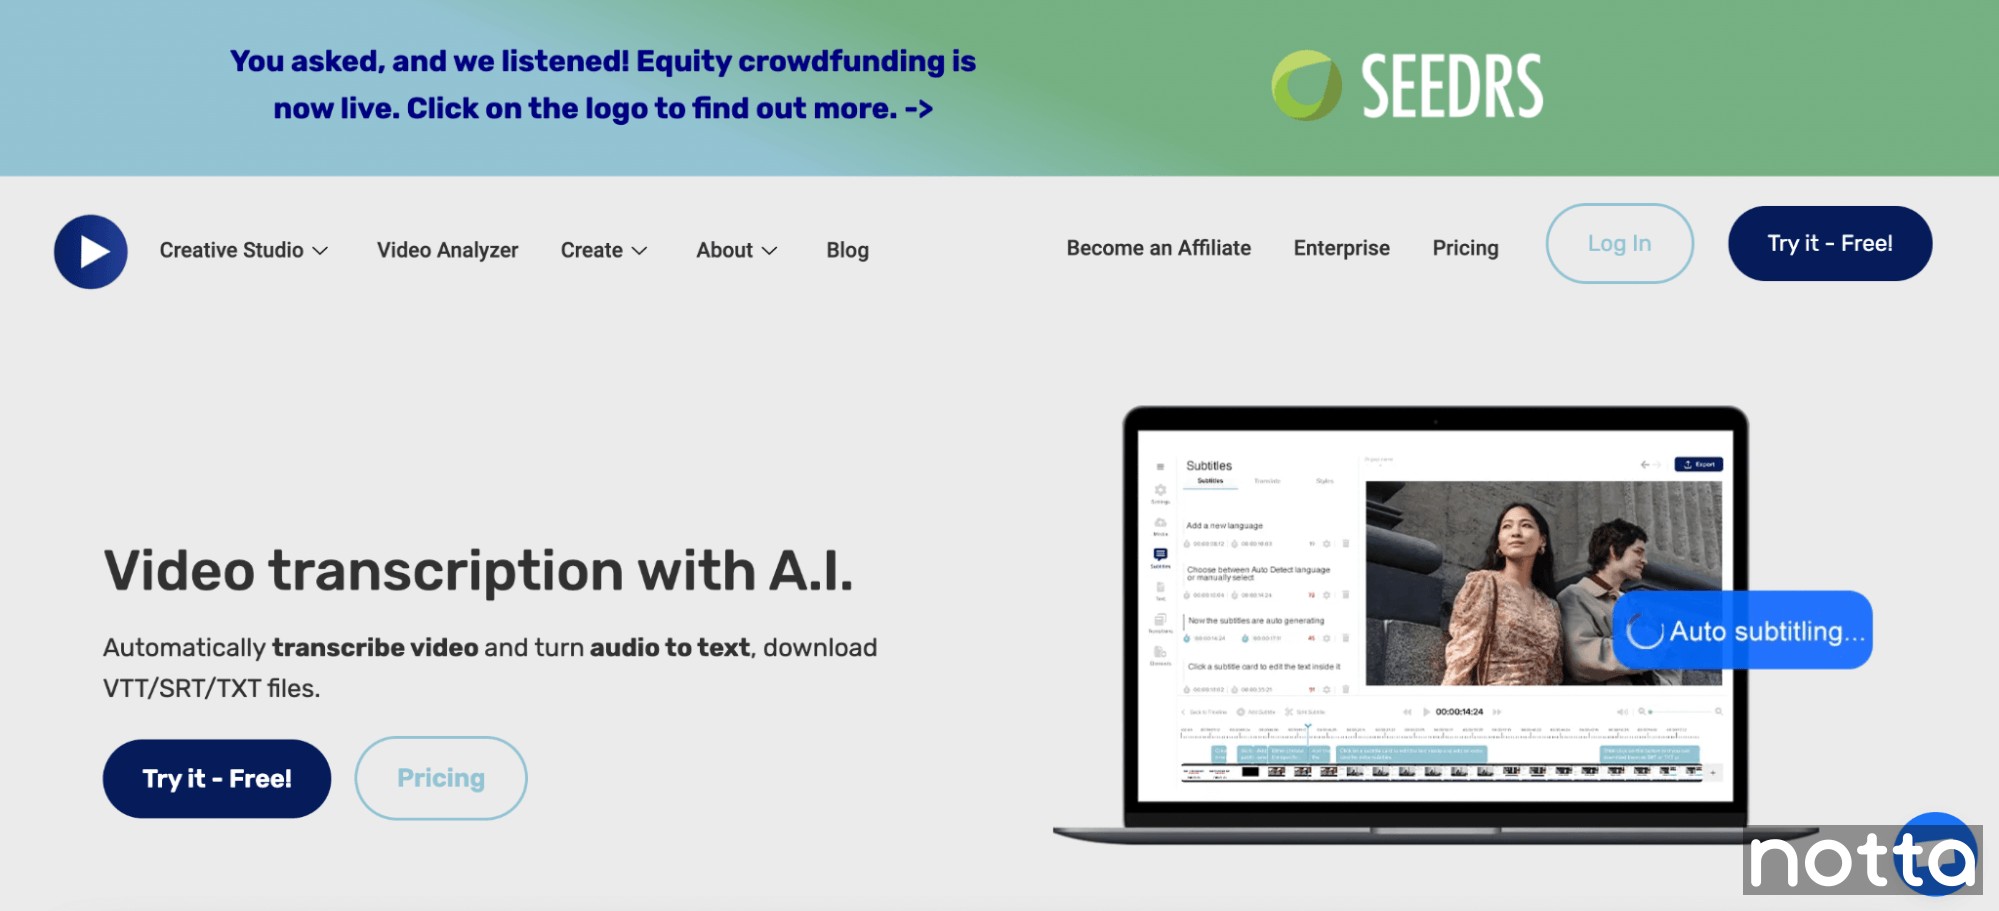
Nova AI makes transcribing videos easy because all you have to do is access the 'Subtitle' panel on the interface and choose 'Auto Subtitle.' In just a few clicks, the tool's AI technology will start transcribing every spoken word in the video to text.
The transcription process is remarkably fast, and the duration of the video determines the speed. On average, Nova AI can transcribe a two-hour video in under 10 minutes, which is pretty good for the industry.
Nova AI’s generated text is highly accurate, meaning you get reliable transcriptions. Plus, one of the standout features of Nova AI is its ability to transcribe videos in over 22 languages. So, no matter where you’re from or what your native language is, Nova AI can help you out with transcription.
Features
Can add video captions and subtitles
Edit downloadable subtitles
Support more than 22 languages
Pros
Quick transcription
Readily downloadable subtitles
Cons
Questionable accuracy in translated languages
Price
Free trial for 30 minutes of transcription
Basic plan: $10 per month for 150 minutes
Pro plan: $18 per month for 300 minutes
Business plan: $55 per month for 900 minutes
16. CLOx
Best Free Mac Transcription Software for Sociolinguistic Interviews.
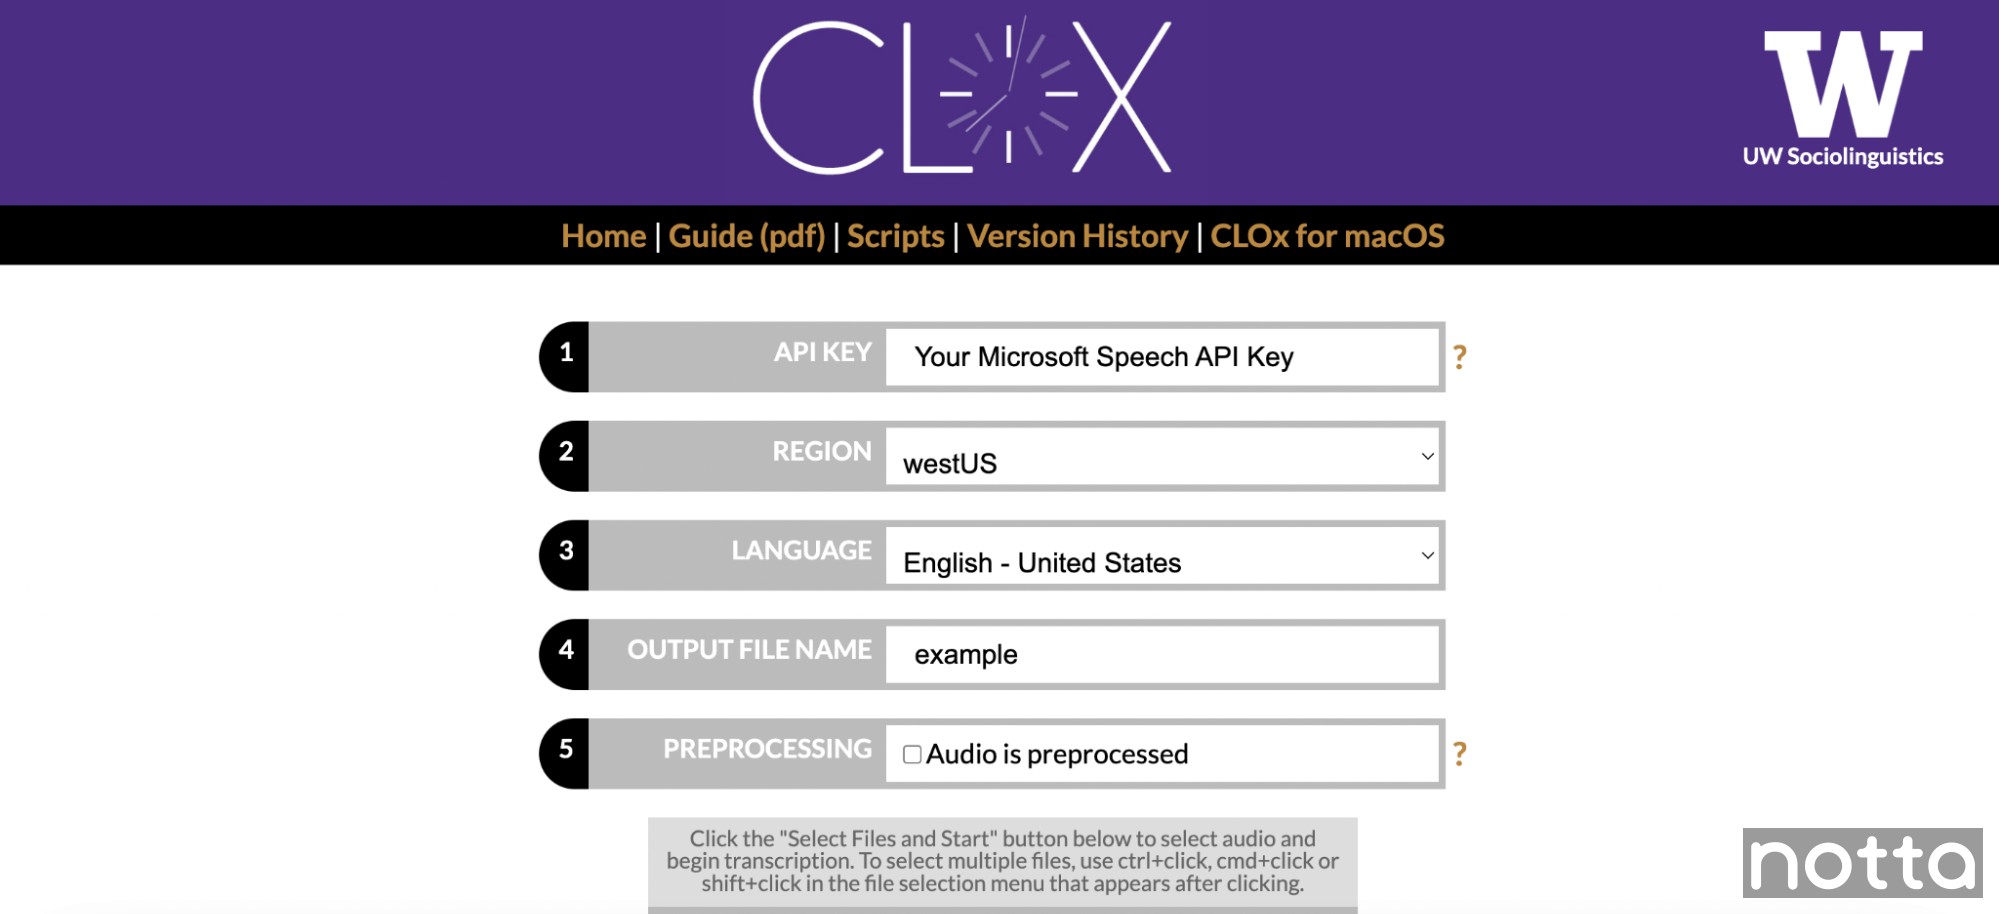
CLOxTranscription, developed by the University of Washington Sociolinguistics Laboratory, is valuable in a suite of tools designed for sociolinguists. It specifically caters to Mac users, offering a free transcription software solution to streamline the transcription process for sociolinguistic interviews.
Utilizing Mac's built-in speech-to-text system, CLOx Transcription effectively converts audio recordings into text. The resulting transcript is conveniently outputted as a CSV file, allowing for easy manipulation and analysis of the transcribed data. By reducing the time required for transcription, CLOx Transcription aids sociolinguists in their research and analysis efforts.
CLOx Transcription significantly speeds up the transcription process for sociolinguistic interviews. By automating the initial audio conversion to text, researchers can focus more on analyzing the transcribed data and deriving insights for their sociolinguistic studies.
Features
Accuracy in transcribing and translating sociolinguistic interviews
Easy conversion to your desired file formats
Automatic speeding up of the transcription process
Pros
Free
User-friendly, the interface is highly intuitive
Cons
The file formats are more limited than the other options in this guide
Not ideal for simple regulation tasks
Price
Free
17. Temi
Best High-Quality Transcription Software Solely for English.
Temi is purely a web-based transcription software without the need to download or install any browser extensions. However, it has an available mobile app for iPhones and Android devices.
Because the same company owns Rev and Temi, the editing software works roughly the same. Autosaving the file as you edit is common on Temi, and you can also navigate through the software with the basic keyboard shortcuts. Temi also allows transcript download or sending a shareable open link to another user.
Temi also allows editing and adding timestamps to your entire transcript. The software is also capable of Zapier integration and advanced speech recognition. Its standard data security prevents breaches.
Features
Simple editing tools that can generate 95% accurate transcripts
Save and export your transcripts in your chosen file formats, including PDF, Word, VTT, and SRT
Can work with almost all file formats
TLS 1.2 data encryption
Pros
The mobile application is very convenient for Android and iOS users
A free trial is available for transcribing for 45 minutes
Quick processing time
Cons
Can only support English
Price
Free trial for 45 minutes
Starts at $0.25 per minute
18. Qwaz Audio
Best Mac Transcription App for Journalists
Qwaz Audio was dedicated to journalists who need automatic transcription software with advanced sound technology. It’s capable of recognizing the speakers in an audio file and designating the right script when transcribing.
One of the most fascinating features of Qwaz Audio is slowing down audio, allowing users to match and reduce the typing speed based on rewinds and pauses. Qwaz Audio is also compatible with famous word processors.
Qwaz Audio is a specialized tool that incorporates signal processing techniques to preserve the pitch of the audio, whether it is voice or music while adjusting the playback speed.
This functionality benefits various applications, such as musicians transcribing audio recordings into musical scores or speech therapists analyzing voice disabilities in their patients. By maintaining the original pitch while altering the speed, Qwaz Audio offers a valuable resource for these specific use cases.
Features
Adjustable playing speeds for fast listening and transcribing
Can adjust bad-level recordings
It can automatically rewind on pause
Simulated force feedback for better accuracy
Pros
Advanced playback controls for guaranteed accuracy
Capable of iCloud synchronization
Cons
Can only support two languages
Price
Free version available
Starts at $14.99 per user per month
Easily transcribe audio to text on Mac
Fed up with slow documentation? With Notta, you can record and access error-free transcripts seamlessly synced across all your devices.
What to consider when choosing transcription software for Mac
When selecting transcription software for Mac, you’ve got to keep several factors in mind. After all, the right transcription software can lead to a big boost in productivity, making your job easier overall!
To help you get a fast and accurate translation, we’ve put together a couple of factors to keep in mind as you look for the right software.
1. Accuracy
Prioritizing software with high accuracy rates is crucial, as this will significantly reduce the time spent on extensive editing and proofreading. The result is that you’ll have a more efficient transcription process with less input required from you.
Advanced speech recognition technology and language models can lead to more precise transcriptions, too. That’s because you won’t have to go back and correct certain translations or captions.
2. Noise removal
Noise removal is crucial in transcription software because it ultimately leads to great audio quality. When you have noise removal software as part of your transcription, you reduce manual editing on your part.
In other words, with noise removal, you save yourself time trying to decipher unclear or distorted speech. That gives you more time to take care of other important tasks, like transcribing different audio clips.
3. Privacy policies
Transcription often involves sensitive or confidential content. Before settling on transcription software for Mac computers, read through the privacy policy. You want to make sure that the software you choose prioritizes data security and respects your privacy. Otherwise, you could wind up with sensitive information being leaked.
4. Simple and intuitive user interface
No one wants to work on a hard-to-use or confusing platform. Instead, look for software with a simple and intuitive user interface. You’ll want to keep an eye out for things like:
Easy file uploading
Text editing
Formatting options
Playback controls
All of these features make it easier for you to do your job and avoid wasting time trying to figure out how the platform works.
5. Compatibility
Before signing up for transcription software, make sure that it’s compatible with macOS and that it can easily transcribe audio files on your current version. Check the system requirements before signing up so that you don’t run into any hitches.
6. Cost and licensing
Another thing to keep in mind is the cost and licensing. You’ll want to make sure you find transcription software that fits your budget while meeting your needs. Remember, some services have a one-time fee, while others require you to pay a subscription. Still others are free altogether! Way the features, costs, and licensing to make sure you’re getting a good deal before committing.
7. Customer support
Reliable customer support is key when you encounter issues or have questions about the software. When looking for transcription software, make sure to see what available support channels are offered. A couple include:
Email
Live chat
Phone assistance
Forums
You’ll also want to read user reviews or testimonials about the support so that you can get an idea of what to expect.
8. Integration with other tools
If you use other tools on the job, you may need to check your software’s compatibility. Integration with word processors, note-taking apps, or cloud storage services can make it easier for you to complete transcriptions. Check out what kind of integrations your chosen software has so that you can make your job easier overall.
9. Audio-file support
Finally, you’ll want to consider the types of audio files you commonly work with to confirm that the software can easily transcribe audio files in those formats.
Look for compatibility with popular formats such as MP3, WAV, AIFF, and more. Otherwise, you could run into a problem when it comes to transcribing an audio file!
Which is the best transcription software for Mac?
Transcription software represents a remarkable advancement in innovation and technology. It enables the conversion of speech, dictation, and audio files into text while also providing the ability to generate subtitles for videos, live meetings, and other important audio in a matter of minutes.
This software finds applications across various industries such as healthcare, media, academia, and more, owing to its versatility and functionality.
If you want the best Mac transcription software that has all the features, take a look at Notta. It’s a leading transcription software solution that features accuracy, security, and versatility in its user-friendly interface and highly intuitive dashboard.
FAQs
Can I use free transcription software on Mac?
Yes, there are free transcription software options available for Mac. Most software options included in this guide offer a free trial period you can leverage to check whether the tool suits your preferences.
Some options also have free versions, where you can already utilize outstanding transcription features. But we suggest getting the paid version if you wish to take advantage of all the extra features. For instance, Notta has a three-day trial period if you want to check first whether it can accomplish the transcription tasks you need.
How important is accuracy in transcription software?
Accuracy is crucial in transcription software as it directly impacts the quality and reliability of the transcribed text. High accuracy reduces the need for extensive editing and proofreading, saving time and effort. Look for software with advanced speech recognition technology and language models to achieve accurate transcriptions.
Can transcription software handle different audio formats?
Yes, transcription software is designed to support various audio formats, but it will still depend on your chosen provider. It's important to verify that your chosen software is compatible with the audio formats you commonly work with, such as MP3, WAV, AIFF, or others.

