How to transcribe audio to text
In today’s rapidly evolving digital landscape, audio transcription products have become an invaluable tool for businesses in almost every vertical.
Offering a convenient and efficient way for users to transcribe audio content, these products can save time, improve interdepartmental communication and help to increase productivity.
Audio transcription products are particularly useful for remote teams, students podcasters, journalists, researchers, and creatives.
Audio transcription tools offer a range of benefits for their users including improved UX and accessibility, superior collaboration, and intellectual property protection.
By automating the transcription process, users can work more efficiently and effectively, focusing on other important aspects of their work.
With a range of free audio to text converters on the market, it can be challenging to decide which product will be the best fit for your needs.
In this blog post, we’ll take a deep dive into the various benefits of audio transcription products and explore which products are the best fit for different use cases.
Whether you're a content creator or a business professional, read on to discover how audio transcription can help streamline your work processes and boost productivity.
Audio Transcription: What are the main ways to transcribe audio to text?
There are three predominant ways that transcription software transcribes audio to text.
Automatic Speech Recognition (ASR): This involves using software that is trained to recognize and transcribe spoken words from an audio recording. ASR technology is often used in voice assistants like Siri and Alexa, as well as in transcription tools like notta.ai and Riverside.fm.
Manual Transcription: This involves having a human transcribe the audio by listening to an audio file and typing out what is being said. Platforms like Rev have been leveraging this method for many years. As a writer who used to work for Rev, I can vouch that while this method can be time-consuming and expensive, it is often more accurate than ASR and benefits from the human touch.
Hybrid Transcription: This involves using a combination of ASR and manual transcription. The ASR technology is used to transcribe the audio, and then a human editor reviews and corrects any errors in the transcript.
Benefits of transcribing audio
Audio transcription tools can be used in a range of different cases across various industries to streamline workflow, improve collaboration and accelerate bottom-line growth. Some of the benefits of transcribing audio files using transcription software include:
Accurate Documentation: Audio transcription tools can help users accurately document interviews, meetings, webinars, podcasts, and other audio content for future reference.
This can be particularly important when citing sources or quoting others in research or creative work, as having an accurate transcript can help ensure that proper credit is given.
Improved Collaboration: Transcription can also improve collaboration between team members by making it easier to share and review transcripts of audio content. This can help ensure that everyone involved in a project has access to the same information and can contribute to the work in a meaningful way.
Time-Saving: By automating the transcription process, free audio-to-text tools can save users valuable time that would otherwise be spent manually transcribing audio content. This frees up time for important tasks like analysis, writing, and other creative endeavors.
Improved Accessibility: Automatic transcription software can make audio content more accessible to people with disabilities, including those with hearing impairments. By providing a text-based version of the audio content, users can read the transcript instead of listening to the audio, making it easier for them to access and understand the information.
Audio transcription can provide several benefits for all users, including accurate documentation, improved collaboration, time savings, and improved accessibility. By automating the transcription process, these tools can help users work more efficiently and effectively, while also making audio content more accessible to all users.
Now that you understand the basics of audio transcription and the various use cases and benefits, let’s take a look at the different platforms you can use to transcribe audio files.
Method1. How to transcribe audio to text free with Google Docs transcription
As mentioned above there are several ways you can go about obtaining a transcript of an important meeting, presentation, or interview. You can choose to undertake the task yourself, which is a time-consuming process (usually taking about 5 times as long as a transcription tool), you can outsource the task to an accurate automatic transcription service (which usually involves a small fee), or you can use a free transcription feature. Google offers two ways to transcribe audio to text free: Google Docs Voice Typing and Google Live Transcribe features. While these transcription features can be useful, they also have limitations. Let's take a closer look at transcribing with Google Docs.
Transcribing Audio with Google Docs Voice Typing
Not everybody using Google Docs realizes that it is possible to transcribe both audio and video files using the Google Docs Voice Typing feature.
Using ASR, the tool can be used to transcribe speech as you dictate and is a great option for people who are slow typers or for those looking to transcribe video conferences.
Here’s how to get started.
Step 1: Open a New Google Doc
Start by navigating to the Google Docs homepage and creating a new blank document.
Step 2: Select Tools > Voice Typing
Next, navigate to the Tools tab at the top of the page and select Voice Typing. A microphone icon should pop up on the left-hand side of your screen.
Step 3: Choose Your Language
From here, select your preferred transcription language from the drop-down menu above the microphone icon.
Step 4: Start Recording and Transcribing Your Audio
You’re ready to start recording! Click the microphone button and when it turns red you can start transcribing. It is super important to note that you must not navigate away from the Google Doc page- doing so to check an email or access relevant information on another page will automatically shut the feature off and you will have to start again.
As a free audio to text converter, Google Docs Voice Typing is relatively easy to use, however, the resulting transcript is limited in its offerings. Users must talk slowly and succinctly in order for these text transcripts to be understood by the system.
Furthermore, the output lacks proper punctuation and will require an editing process to ensure the transcript is accurate.
Moreover, Google Docs does not differentiate between multiple speakers, making it a less than favorable option for users looking to record large meetings, podcasts, or interviews.
Method2. How to transcribe audio to text with transcription Services: A Step-by-Step Guide
While Google Docs transcribes simple audio into text files for free, the resulting documents are largely only suitable for personal use and will require thorough editing before they are useful in a business setting.
For companies looking for an accurate, well-formatted transcript, using a third-party transcription service may be a better way to go.
Transcription services such as Notta allow teams to teams to transcribe audio faster and more accurately, in order to scale their offerings and save time and resources.
Here’s the lowdown on how to use Notta to transcribe live audio and a pre-recorded audio file.
How to use Notta to transcribe audio
Notta offers several options for users looking to leverage their transcription tools, including an ios app, android app, Chrome extension, and web app.
All of these offerings have enormous scope, so today I will focus on how you can use Notta’s web app to transcribe audio.
Step One: Sign Up
Navigate to the Notta sign-up page and sign up for an account. You can quickly complete registration third-party logins including Google, Microsoft, and AppleID, or if you’d prefer you can use the sign-in using your personal or business email.
Step Two: Choose Your Language
Once you have logged in with your preferred method, Notta will take you to your personalized dashboard. From here you can select your transcription language. Notta supports 104 transcription languages, meaning no matter where you are in the world or what language you speak, Notta has you covered.
Step Three: Select Your Transcription Method
Once you have selected your transcription language it is time to select your transcription method.
Notta offers four unique and useful transcription methods for various use cases. These include:
1. Real-time transcription:
To enable real-time transcription you simply need to click on either the ‘Record an Audio’ or ‘Record a Video’ buttons to start the recording process. Make sure to allow recording permissions for your Chrome browser, and your device will capture your voice for accurate, real-time transcription.
2. File transcription:
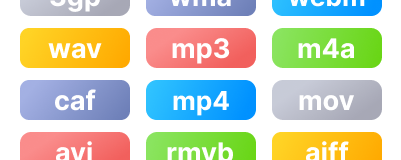
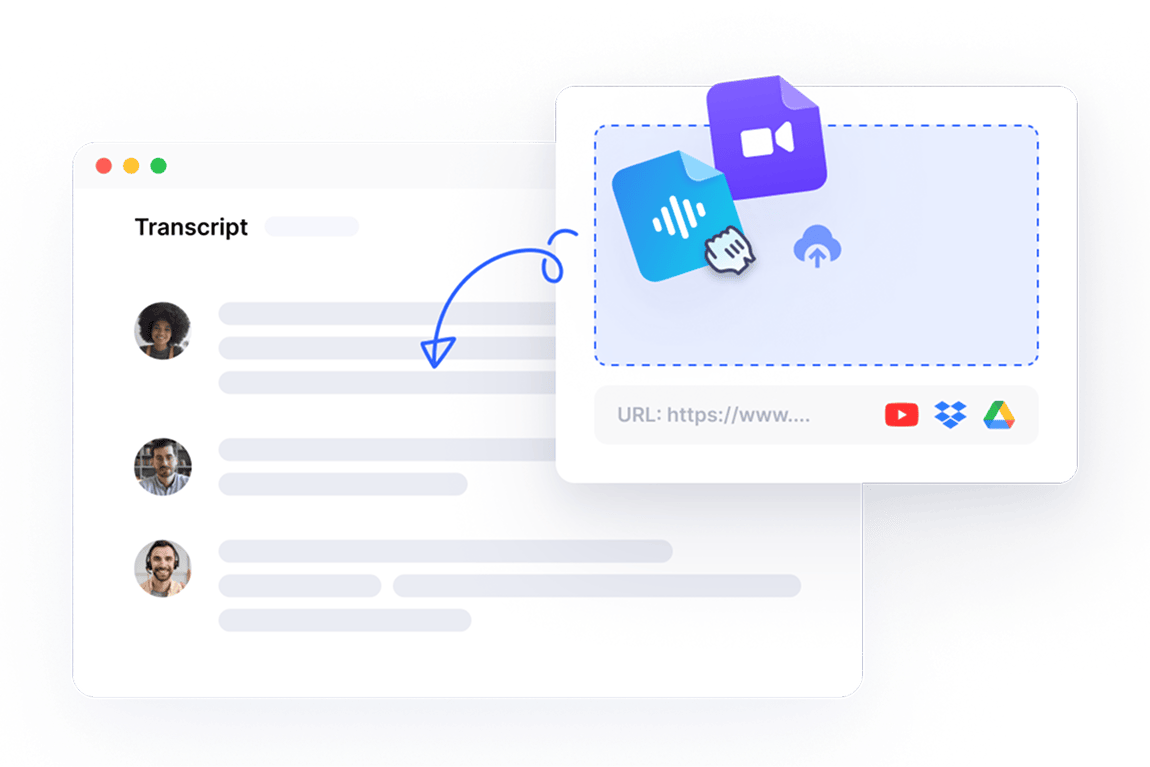
To transcribe a pre-recorded file, click the ‘Import files’ button and drag or select the file you want to transcribe. Remember that the file will be uploaded first, and you need to ensure that your network connection is stable.
3. Online meeting transcription:
If you want to transcribe an online meeting via Zoom, Google Meet, or Microsoft Teams, start by navigating to the Transcribe Live Meeting Button. From here, simply copy the invitation link for the meeting and paste it into the resulting pop-up box.
Notta will then transcribe the meeting for you, ensuring you never miss any vital information dumps that occur during your meeting.
4. Chrome web page transcription: To use this transcription method you will need to install the Notta Audio Clipper Chrome extension first. Then, choose the transcription language and click "Start recording." The Notta extension can transcribe audio from any web page and auto-save the transcript to Notta Web. You can record and transcribe anything you want on up to 5 web pages simultaneously, and for each tab, a 5-hour-long transcription is supported.
Method3. How to transcribe audio to text with YouTube’s automatic video transcript
If you're a content creator who hosts audio and video content on YouTube, you have the option to use YouTube's free automatic video transcript tool to produce Closed Captions (CCs).
However, it's important to note that this tool often produces transcripts with lots of errors, making them too inaccurate to use on their own. Using inaccurate transcripts can negatively impact your video's accessibility and ranking on search engine results pages (SERP). To avoid this, it's highly recommended to clean up the transcript before uploading it.
Here's how you can leverage YouTube's automatic video transcript:
1. From the studio dashboard, navigate to ‘Subtitles’. From here, click on the video you want to transcribe.
2. From here, select your language under ‘Add Language’.
3. Next, under ‘Subtitles’ click ‘Add’. From here, select ‘Type Manually’.
From here, select ‘Edit Timings’ and begin typing in your transcript.
Once you are happy that your transcript syncs up with your video, you can choose to save your subtitled video as a draft or go straight ahead and publish it.
Alternatively, you can create a transcript beforehand and upload it to YouTube:
Create a transcript with YouTube's recommended formatting (.txt files work best).
Navigate to your chosen video, and select ‘Subtitles’.
Choose your language and select ‘Add’.
Choose ‘Upload File'
5. Select whether your transcript is with timing or without.
6. Once the transcript has been uploaded, click Set Timings to sync it with the video file and create closed captions.
You can also download the transcript file later with timings as a caption file:
1. Navigate to the video from which you want to download the transcript. From here, click on ‘Subtitles’. Once you are on the transcription screen, navigate to the ‘Options’ button (three horizontal dots).
2. Select the ‘Download Subtitles’ option.
3. A transcript of the closed captions with the time codes will automatically generate.
Best Audio-to-Text Transcription Services on iOS / Android
With the growing popularity of smartphones, there are now numerous apps available on both iOS and Android platforms that can help you in transcribing audio to text quickly and accurately.
Notta is a great option, with an intuitive and easy-to-use interface for transcribing audio to text on the go. So let’s take a closer look at how to use Notta to transcribe audio to text on your mobile device. I’m working on an iPad Pro, so take note the steps may be slightly different depending on your device of choice.
First, download and install the free Notta app from the App Store (for iOS) or Google Play Store (for Android).
Once the app is installed, you can choose to Login or continue as a guest.
On the home screen of the app, select your transcription language and then select ‘Record Now’.
4. You'll be taken to a new screen where you can enter the title of your note and start typing your transcription.
5. To use voice-to-text transcription, tap the microphone icon in the keyboard's lower right corner.
6. Begin speaking the words you want to transcribe clearly and audibly, making sure to pause between phrases.
7. The app will transcribe your words into text in real time as you speak.
8. If the app misses something you said or makes an error, you can go back and edit the transcription manually.
9. Once you're finished with your transcription, press the ‘Stop’ button in the lower left-hand corner.
10. Name your recording and select ‘Done’
11. You can then access your voice notes from the Notta App dashboard under ‘My Conversations’.
Conclusion
Audio transcription software has become an essential tool for businesses, students, researchers, journalists, and creatives alike. These software products offer a convenient and efficient way to transcribe audio content, saving time, improving interdepartmental communication, and increasing productivity.
By automating the transcription process, users can work more efficiently and effectively, focusing on other important aspects of their work. Using free audio-to-text converters such as Google Docs Voice Typing can be useful for simple tasks but may have limitations.
Therefore, it is crucial to explore which products are the best fit for different use cases. For efficient and accurate transcription, try Notta today.