How to Spotlight on Zoom
Unlock the power of AI — Notta's meeting assistant records, transcribes and summarizes meeting minutes with one click.
Zoom's spotlight feature lets the meeting host or co-host designate up to nine participants as the primary active speakers for everyone in the meeting. When you spotlight someone, their video fills the main view on every participant's screen, regardless of who is actually speaking. This is useful for presentations, keynote sessions, panel discussions, or any meeting where you want to direct the group's attention to specific people.
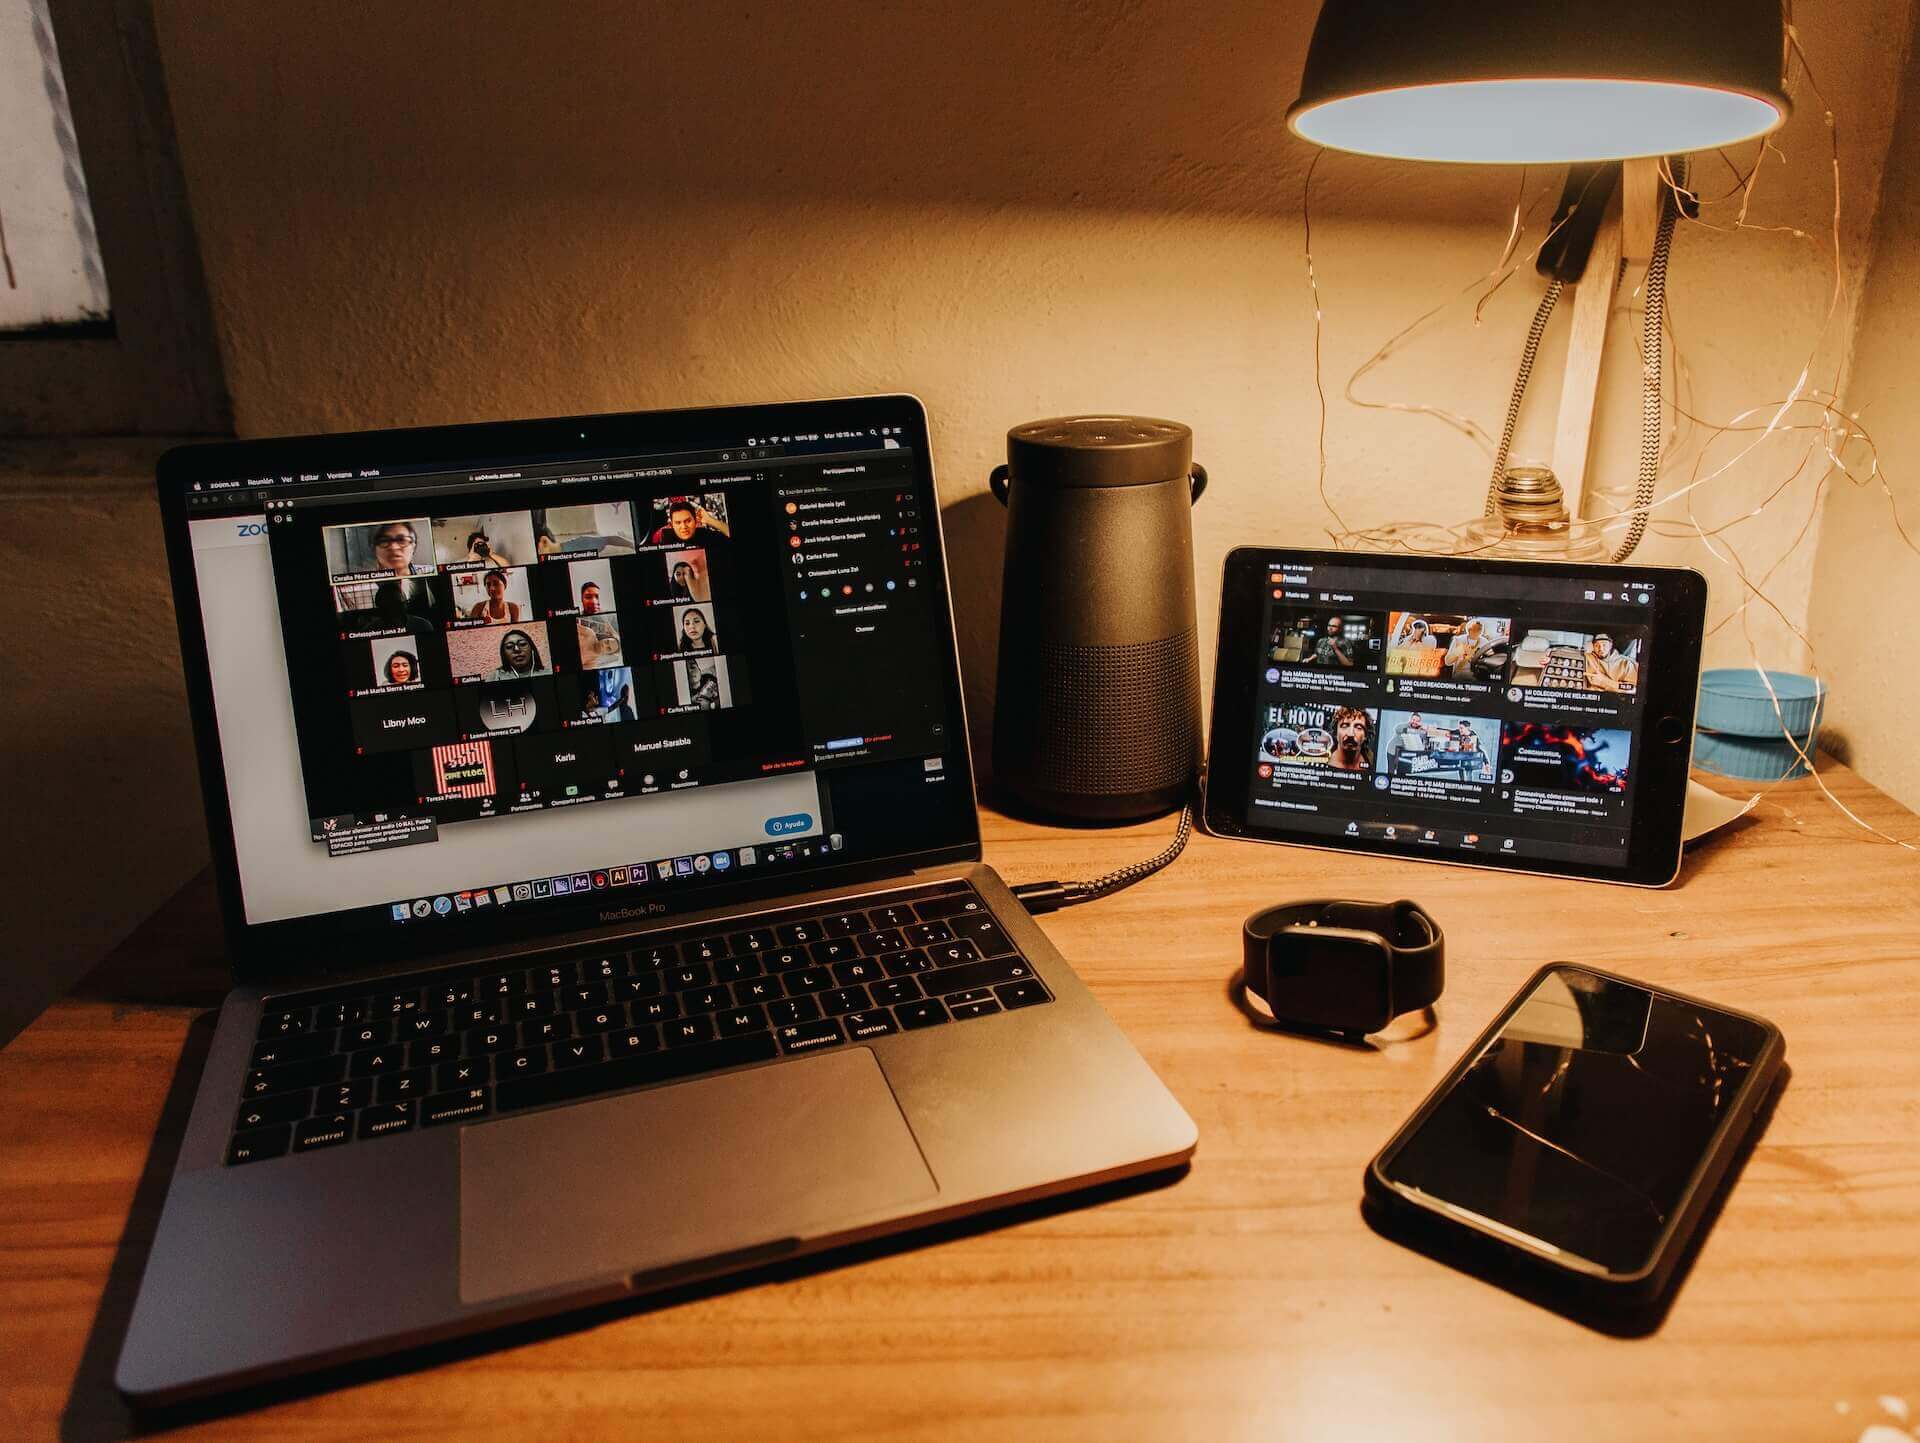
Recently, we had around 20 participants in the team presentation, and it was hard to track the active speakers. I used Zoom's spotlight feature to highlight the speakers, which helped to make the discussion productive and focused. In this article, I will reveal the step-by-step process of using the spotlight feature on Windows/macOS, Android, or iOS devices.
Prerequisites for spotlighting on Zoom
Zoom offers a spotlight feature that lets the host choose one or more primary active speakers for all the participants. This can be especially helpful for keynote speakers during meetings and seminars. It ensures that everyone is paying attention to the speaker and that they can easily follow along.
However, the user must meet a few prerequisites to use Zoom's in-built spotlight feature.
You must host or co-host the Zoom meeting or webinar.
You must install a Zoom desktop client of Global minimum version or higher for Windows, macOS, and Linux.
Your Zoom mobile app for Android or iOS should be of a Global minimum version or higher.
You need at least three participants with their videos on to try out the Zoom spotlight in a meeting.
This option is available for Zoom webinars and seminars too. The only difference is that you must have at least two meeting participants with a video on to try out the spotlight.
How to spotlight participants on Windows/macOS?
As a host, you can enable a spotlight on one or more participants in a Zoom meeting. Whether you're hosting a presentation or a discussion, spotlighting allows you to ensure that everyone is on the same page.
Here's how to spotlight on Zoom using the latest version of the Zoom desktop client.
Step 1: Go to the installed Zoom desktop client on Windows or macOS and start a new meeting as the host. You can also join a scheduled meeting with co-hosting rights to use the feature. Next, invite participants to the virtual Zoom session via email or meeting link.

Step 2: Once all the attendees join the session, hover over one participant's video. You'll see an ellipsis icon (...). Click the three dots, and a drop-down menu will appear. Select 'Spotlight for Everyone.' The person will be designated as an active speaker with a spotlight.

Step 3: Zoom lets you add a spotlight on multiple speakers. After one of the speakers has been added to the spotlight on Zoom, go to another attendee's video and click on three dots (...). In the drop-down menu, select 'Add Spotlight.'

That's it! You can follow the same process and add up to 9 participants to the spotlight. Once they have designated the primary active speaker, they can then use other features, such as screen sharing and annotation, to make the meeting even more productive.
If you want to cancel the spotlight, hover over the video of the participants with spotlight and click 'Remove Spotlight.'


With Notta, you can easily generate meeting minutes, turning spoken content into written records with 98.86% accuracy.
How to spotlight participants on Android?
Similar to Windows or macOS, you can use the feature to highlight speakers in meetings executed using Android. Here's how to spotlight someone on Zoom using the mobile app.
Step 1: Start a Zoom meeting or webinar on your Android device or join one as a co-host. Select 'Participants.'

Step 2: When you select 'Participants,' the entire attendees' list will appear. Click the participant's name you want to spotlight, and additional options will be visible.

Step 3: Select 'Spotlight for Everyone.' You can repeat the process to add 9 participants to the spotlight at the most.

To cancel the Zoom spotlight feature, click Participants > Participant Name > Remove Spotlight.

How to spotlight participants on iOS?
The host or co-host can utilize the multi-pin feature in Zoom videos by default. This section sheds light on how to spotlight multiple speakers in Zoom using iOS.
Step 1: Start the Zoom meeting and invite participants. Locate the 'Participants' option at the bottom of your screen on your iPhone or at the top of the screen on your iPad.

Step 2: Click the participant name you want to spotlight, and the additional options will appear.

Step 3: Select 'Spotlight for Everyone.'

Step 4: Similar to Android, you can add multiple speakers to the spotlight by following step 2 and then selecting 'Add Spotlight.

If you want to cancel a spotlight, go to Participants > Participant Name > Remove. This lets you cancel the spotlight feature on any of the active speakers.

Spotlight vs. Pin
By default, Zoom uses the active speaker layout during virtual meetings. This means that the participant currently speaking gets maximum screen space on everyone's Zoom screen. However, you can manually choose the active speakers from the participants by using the Zoom spotlight and pinning feature.
| Comparison Parameter | Zoom Spotlight | Zoom Pin |
|---|---|---|
| Description | The Zoom spotlight feature lets the host or co-host designate someone as an active speaker. It ensures everyone attending the meeting will view the spotlighted participants. | On the contrary, the pinning feature is available to all the participants. Anyone attending the meeting can pin the video of other participants. This means the pinned person would occupy most of their screen space. |
| When to use | Spotlight is a good option if you want to ensure all attendees pay attention to the same person. | Pin works well if you want to focus on one participant's video without affecting the view of others. |
| Who can use | Only host or co-host of the Zoom meeting. | All the participants of the Zoom meeting. |
In short, the main difference between Zoom Spotlight vs. Pin is that the spotlight affects all meeting attendees' views, whereas the Pin only affects your view.
Notta: All-in-one AI assistant for productive meetings

If you are a Zoom user wanting to explore the benefits beyond Zoom's in-built capabilities and features, consider using Notta. It is an all-in-one AI assistant that makes Zoom meetings productive and collaborative. It lets you generate AI summaries and transcripts of your Zoom sessions with 98.86% accuracy.
Instead of manually taking notes during the ongoing conversation, you can select 'Import Files' to upload your locally stored audio or video recordings on Notta. Within a few minutes, Notta will generate shareable transcripts that can be edited or translated into 41 languages.

The benefits of Notta do not end here! You can live transcribe using video calls by leveraging the power of the Notta bot. Go to the Notta dashboard and select 'Transcribe Live Meetings.' Enter the information, and the Notta bot will join the live session to record meetings or generate real-time transcripts.

Besides being a feature-rich recording and transcribing tool, Notta lets you schedule Zoom meetings from its dashboard. The 'Scheduler' feature enables you to schedule Zoom meetings within the Notta dashboard and eliminates the time spent switching between the apps. Hence, using Notta is a great way to save time and enhance your productivity in virtual meetings.

Troubleshooting: Zoom Spotlight Not Available
The Spotlight option doesn't appear when you hover over a video tile. Check that you are the host or co-host. Participants cannot spotlight others. If you joined as a regular attendee, ask the host to assign you co-host rights first.
Fewer than three participants have their video on. In a standard meeting, spotlight requires at least three participants with video enabled. If only one or two people have video on, the option will not appear. In a webinar, the minimum is two panelists with at least one video on.
You've already spotlighted nine participants. The maximum is nine. Once nine participants are spotlighted, "Add Spotlight" will be unavailable until you remove at least one from the spotlight.
The Spotlight option is greyed out or hidden. Make sure your Zoom app is updated to the latest version. Older versions may not show spotlight controls in the expected locations, particularly on mobile.
Spotlight is available but only affects your view. If you accidentally used "Pin" instead of "Spotlight for Everyone," only your own view is affected. Remove the pin and use Spotlight for Everyone from the ellipsis menu to apply it to all participants.
Notta AI meeting assistant records, transcribes, and summarizes meetings so everyone can stay engaged without missing important details.
FAQs
Why is the spotlight option not showing in Zoom?
In order to use the spotlight option on Zoom, you'll need to meet a few prerequisites. For instance, you need at least three participants in the Zoom meeting with video on.
At any given time, you can spotlight a maximum of 9 participants. When there are 9 active speakers, you won't be able to use Zoom's spotlight feature until you remove anyone from the spotlight.
Who can spotlight on Zoom?
Only the host or an assigned co-host can spotlight a participant's video during the Zoom meeting. Whenever a host spotlights a participant, they will be designated as the active speaker. Their video will be larger than the others, and audio will be prioritized.
Can participants see who spotlighted them?
Participants are not explicitly notified that they have been spotlighted. Their video simply becomes prominent in everyone's view. If you want them to be aware, you would need to tell them directly in the chat or verbally.
Does spotlight work during screen sharing?
Yes. You can spotlight participants while someone is sharing their screen. The spotlighted participant's video will appear in the corner or panel area depending on the view layout participants are using.
Can I spotlight myself as the host?
Yes. Hover over your own video tile, click the ellipsis icon, and select Spotlight for Everyone. Alternatively, enable the "Show me as an active speaker when I talk" setting under Settings > Meetings & Webinars for automatic self-spotlighting in your local recording.
How do I turn off the spotlight on Zoom?
Hover over the spotlighted participant's video and click Remove Spotlight to remove an individual. To remove all spotlights at once, click View in the top-right corner of the meeting window and select Remove All Spotlights.
Key takeaways
The spotlight feature in Zoom is a valuable tool for making meetings more engaging and focused. It allows the host to designate one or more participants as the primary active speakers, which means their video will be enlarged and displayed in the center of the screen for everyone to see.
The host can follow the simple steps mentioned in the 'How to spotlight on Zoom' section in this article. In addition to Zoom's in-built features, you can also leverage the power of Notta, an all-in-one AI assistant.
Notta can transcribe your meetings, identify key moments, and summarize your discussions. This means you can save time, improve accuracy, and increase productivity. Sign up for a free trial today and see how Notta can help you improve your future meetings.

